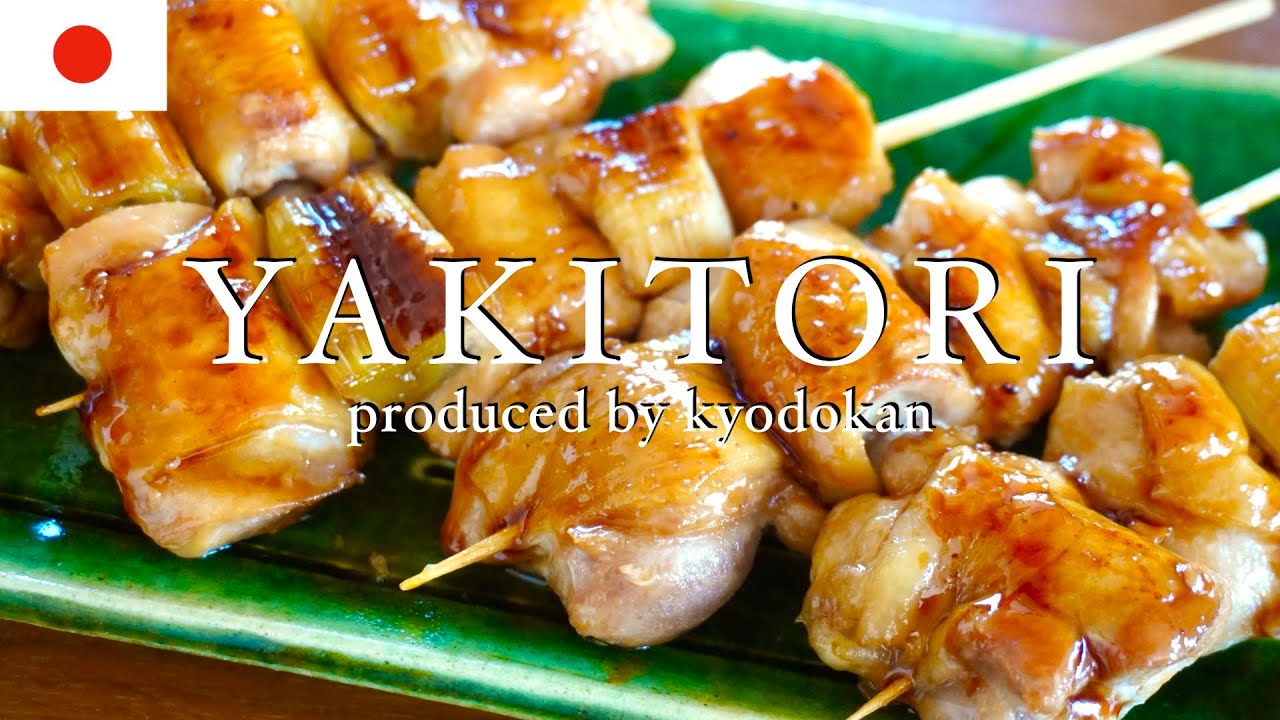
Authentic Yakitori at Home (The Glaze Is Everything)
Japanese grilled chicken skewers with a savory-sweet tare glaze built from tamari, honey, and ginger — caramelized under a broiler until sticky, glossy, and deeply umami. We broke down the most popular methods to give you the one technique that nails the glaze every time without a charcoal grill.
“Yakitori looks like a simple skewer. It is not a simple skewer. The glaze — called tare — is a reduction that builds umami in layers, and every cook who has served you dry, pale, or cloyingly sweet yakitori got the glaze wrong. The difference between street-food-quality yakitori and the disappointing version comes down to one thing: splitting the glaze in half and reserving some for the final baste. We tested every major method to find the approach that delivers that lacquered, sticky finish without burning the chicken.”
Why This Recipe Works
Yakitori is three ingredients and one technique. The chicken is secondary. The glaze — tare in Japanese — is the entire point, and every recipe that treats it as a marinade alone has already lost the plot.
The Glaze Split
The single most important thing this recipe does that most home versions skip: divide the glaze before anything touches it. Half goes over the raw chicken for the marinating phase. The other half sits in a clean bowl and never sees raw protein. That clean half is your finishing sauce — it goes on during the final 2-3 minutes under the broiler and is what creates the lacquered, restaurant-quality surface that makes yakitori look and taste the way it's supposed to.
Why does this matter? Two reasons. First, a finishing sauce that hasn't been contaminated with raw chicken proteins reduces cleanly on the hot skewer without getting cloudy or breaking. Second, the heat-set glaze from the initial broil gives the finishing coat something to bond to — you're building layers of caramelization, not painting raw sauce onto raw chicken and hoping it sets.
The Broiler as a Charcoal Substitute
Traditional yakitori is cooked over binchotan charcoal — a Japanese hardwood charcoal that burns extremely hot and clean, producing virtually no smoke while imparting subtle flavor. You don't have binchotan. Neither does anyone reading this recipe on a Tuesday night. A broiler, positioned correctly, delivers 80-85% of the same result.
The key is rack position and preheat time. Six inches from the broiler element is the sweet spot — close enough for direct radiant heat to caramelize the glaze, far enough that the honey doesn't incinerate before the chicken cooks through. And the broiler must be fully preheated — a full 5 minutes at high — before the skewers go in. Cold or lukewarm broilers steam the chicken from the ambient oven heat rather than searing it from radiant heat. The difference is pale, soft chicken versus one with actual char marks and textural contrast on the edges.
A wire rack set over a rimmed baking sheet is non-negotiable. Direct contact with a flat pan traps steam under the skewers. The rack elevates them so heat circulates underneath, giving you caramelization on the bottom surface rather than a steamed undercarriage.
The Glaze Chemistry
This recipe uses tamari, raw honey, rice vinegar, sesame oil, garlic, and ginger. Each ingredient has a specific function. Tamari provides the umami baseline — glutamates in concentrated form. Honey provides the sugars that caramelize (and burn, if you're not watching). Rice vinegar provides acid that balances the sweetness and prevents the glaze from reading as cloyingly sweet. Sesame oil provides aromatic fat that carries fat-soluble flavor compounds to the surface of the chicken. Garlic and ginger provide the volatile aromatics that cook off first and coat the interior of the oven with that yakitori-specific smell that makes everyone walk into the kitchen asking what's happening.
The honey-to-tamari ratio is calibrated for broiler heat. More honey and the sugars burn before the chicken is cooked through. Less honey and the glaze doesn't achieve the sticky, lacquered surface that makes yakitori visually compelling. This ratio works — don't adjust it until you've made it once as written.
The Spacing Rule
Every piece of chicken on the skewer needs air around it. Every skewer on the rack needs space next to it. This is not a suggestion. Crowded protein steams. Spaced protein sears. The Maillard reaction — the browning that creates flavor — only happens when surface moisture can escape into the surrounding air. Pack the skewers together and that moisture has nowhere to go, which means you're essentially braising everything in its own steam under a broiler.
Half an inch between chicken pieces on the skewer. An inch between skewers on the rack. These aren't arbitrary numbers — they're the minimum clearance for vapor escape.
The Pull Temperature
An instant-read thermometer is the difference between yakitori and expensive chicken jerky. The glaze darkens before the interior hits safe temperature — you cannot judge doneness by color. Pull at exactly 165°F. At 170°F, breast meat has lost a measurable percentage of its moisture. At 175°F, you're eating protein fiber without the juices that make it worth eating. The thermometer costs less than the chicken. Use it.
Where Beginners Mess This Up
Before we start, read this. These are the 4 reasons your authentic yakitori at home (the glaze is everything) will fail:
- 1
Using all the glaze as a marinade: If you marinate and baste with the same batch of glaze, you're introducing raw chicken proteins into the sauce you finish with. Beyond food safety, this muddies the final flavor. Split the glaze at the start — half for marinating, half held clean for basting and finishing. The finishing sauce is what gives yakitori its glossy, restaurant-quality coat.
- 2
Crowding the skewers: Chicken pieces touching each other on the skewer steam instead of char. Leave half an inch between each component. The gap isn't aesthetic — it's the difference between caramelization and braising. Same rule applies on the baking sheet: space between skewers lets the broiler heat circulate and create char on the edges, not just the top surface.
- 3
Basting too early under the broiler: Add the finishing glaze before the chicken has developed color and you'll burn the honey before the inside is cooked through. The sequence is: broil for color first, rotate, broil again, then baste and finish. Those final 2-3 minutes with glaze on are all it takes. Any longer and you're flirting with bitter, carbonized sugar.
- 4
Skipping the skewer soak: Dry wooden skewers ignite under a broiler within 2 minutes. Thirty minutes in cold water buys you enough buffer time to get through the cook without the handles catching fire mid-rotation. Metal skewers solve this entirely but conduct heat — use a folded towel when handling them.
The Video Reference Library
Want to see it in action? Here are the exact videos we analyzed and combined to build this foolproof recipe translation:
The source video for this recipe's method. Clear demonstration of the glaze-splitting technique and the broiler sequencing that builds char without burning the tare.
🛠️ Core Equipment
- Rimmed baking sheet with wire rackElevating the skewers on a rack allows heat to circulate underneath, giving you char on all sides instead of one steamed surface. A flat sheet traps steam under the skewers and ruins the texture.
- Instant-read thermometerThe glaze darkens before the chicken is cooked through — you cannot judge doneness by color alone. Pull at exactly 165°F internal temperature. Every degree over that and you're drying out protein you spent time marinating.
- Pastry brushFor applying the finishing glaze in a thin, even coat. Spooning glaze over skewers pools it unevenly and causes hot spots under the broiler. A brush gives you control over coverage.
- Wooden or metal skewersMetal skewers are reusable and eliminate the soak step, but they conduct heat — grip carefully. Wooden skewers need 30 minutes in water before use. Either works; choose based on what you have.
Authentic Yakitori at Home (The Glaze Is Everything)
🛒 Ingredients
- ✦2 pounds boneless, skinless chicken breasts, cut into 1.5-inch cubes
- ✦1/2 cup tamari or low-sodium soy sauce
- ✦3 tablespoons raw honey
- ✦2 tablespoons rice vinegar
- ✦1 tablespoon sesame oil
- ✦4 cloves garlic, minced
- ✦1 tablespoon fresh ginger, grated
- ✦1 teaspoon mirin (optional, or substitute additional honey)
- ✦1 pound scallions, cut into 2-inch pieces
- ✦8 ounces shiitake mushrooms, quartered
- ✦1 tablespoon olive oil for brushing
- ✦1 teaspoon sesame seeds
- ✦2 tablespoons fresh cilantro, chopped
- ✦Kosher salt and black pepper to taste
- ✦12 wooden or metal skewers (soak wooden skewers 30 minutes before use)
👨🍳 Instructions
01Step 1
Soak wooden skewers in cold water for at least 30 minutes before you start anything else.
02Step 2
Whisk tamari, honey, rice vinegar, sesame oil, minced garlic, grated ginger, and mirin together in a medium bowl until the honey fully dissolves, about 2 minutes.
03Step 3
Divide the glaze in half. Set one half aside in a clean bowl — this is your finishing sauce. Use the other half for marinating.
04Step 4
Toss the chicken cubes with the marinade half and let sit at room temperature for 15-20 minutes while you prep the vegetables.
05Step 5
Thread marinated chicken onto skewers, alternating with scallion pieces and mushroom quarters, leaving half an inch of space between each component.
06Step 6
Brush assembled skewers with olive oil and season all sides with kosher salt and black pepper.
07Step 7
Position the oven rack 6 inches from the broiler element. Preheat the broiler to high for 5 minutes with the rack in place.
08Step 8
Arrange skewers on a wire rack set over a lined baking sheet, with space between each skewer. Broil for 4-5 minutes until the chicken shows light char on the exposed edges.
09Step 9
Rotate the skewers and broil for another 4-5 minutes.
10Step 10
Brush the reserved finishing glaze over all surfaces of the skewers using a pastry brush.
11Step 11
Broil for a final 2-3 minutes, watching closely, until the glaze is sticky, caramelized, and lacquered. Pull immediately when the chicken hits 165°F internal temperature.
12Step 12
Transfer to a serving platter, brush with any remaining glaze, and scatter sesame seeds and fresh cilantro over the top. Serve immediately.
Nutrition Per Serving
Estimates based on standard preparation. Adjustments alter macros.
🔄 Substitutions
Instead of Mirin...
Use Additional raw honey or coconut sugar
Coconut sugar adds subtle caramel depth. Use 1 teaspoon dissolved in 1 teaspoon warm water as a 1:1 swap. Slightly less sweet profile than mirin but richer overall.
Instead of Tamari...
Use Coconut aminos
Lower sodium and slightly lighter umami profile. Works well if you need a completely soy-free version. Expect a touch less salinity — taste and adjust.
Instead of Shiitake mushrooms...
Use Oyster or maitake mushrooms
Oyster mushrooms are more delicate and need slightly less time on the skewer. Maitake has a firmer bite closer to shiitake. Both caramelize well under broiler heat.
Instead of Sesame oil...
Use Avocado oil or macadamia nut oil
You lose the toasted sesame aroma — finish the plated dish with a small drizzle of sesame oil instead to recover some of that flavor without cooking it off.
🧊 Storage & Reheating
In the Fridge
Store cooked yakitori in an airtight container for up to 3 days. The glaze firms up when cold but rehydrates during reheating.
In the Freezer
Freeze cooked skewers (removed from skewers) for up to 2 months. Thaw overnight in the fridge before reheating.
Reheating Rules
Reheat in a 375°F oven on a wire rack for 8-10 minutes, or under the broiler for 2-3 minutes with a fresh brush of glaze. Microwave turns the glaze gummy and steams the chicken — avoid it.
❓ Frequently Asked Questions
Can I make yakitori without skewers?
Yes. Spread the marinated chicken, scallions, and mushrooms in a single layer on a wire rack over a baking sheet and broil using the same timing. You lose the presentation but the flavor is identical. Toss everything in the finishing glaze at the end.
Why is my glaze not caramelizing — it stays wet and pale?
Your broiler wasn't hot enough, or the rack was too far from the element. The broiler needs to be fully preheated (5 full minutes) and the rack should sit 6 inches from the heat source. If your broiler only has one setting, let it run longer before adding the food.
Can I use chicken thighs instead of breasts?
Absolutely, and it's the better choice. Thighs contain more fat and collagen, which means they stay juicy under broiler heat even if you overshoot the timing by a minute or two. Cut them into the same 1.5-inch cubes and use identical timing.
Is this recipe actually gluten-free?
Yes, if you use tamari instead of regular soy sauce. Standard soy sauce contains wheat. Tamari is brewed without wheat and is certified gluten-free in most brands — check the label to confirm.
What's the difference between yakitori and regular chicken skewers?
The tare glaze. Generic chicken skewers are seasoned with dry spices or simple marinades. Yakitori is defined by tare — a specific soy-based reduction that coats the chicken in a glossy, umami-forward lacquer during cooking. The glaze-splitting technique (separate marinade from finishing sauce) is also specific to yakitori's method.
Do I have to use mirin?
No. The recipe already marks it optional. Mirin adds a subtle rice-wine sweetness that honey approximates reasonably well. A teaspoon of honey plus a teaspoon of rice vinegar is the closest functional substitute. The difference is minor enough that most people won't detect it.

The Science of
Authentic Yakitori at Home (The Glaze Is Everything)
We turned everything on this page into a beautiful, flour-proof PDF cheat sheet. Print it out, stick it to your fridge, and never mess up your authentic yakitori at home (the glaze is everything) again.
*We'll email you the high-res PDF instantly. No spam, just perfectly cooked meals.
AlmostChefs Editorial Team
We translate the internet's most popular cooking videos into foolproof, beginner-friendly written recipes. We analyze multiple methods, test them in our kitchen, and engineer a single "Master Recipe" that gives you the best possible result with the least possible stress.