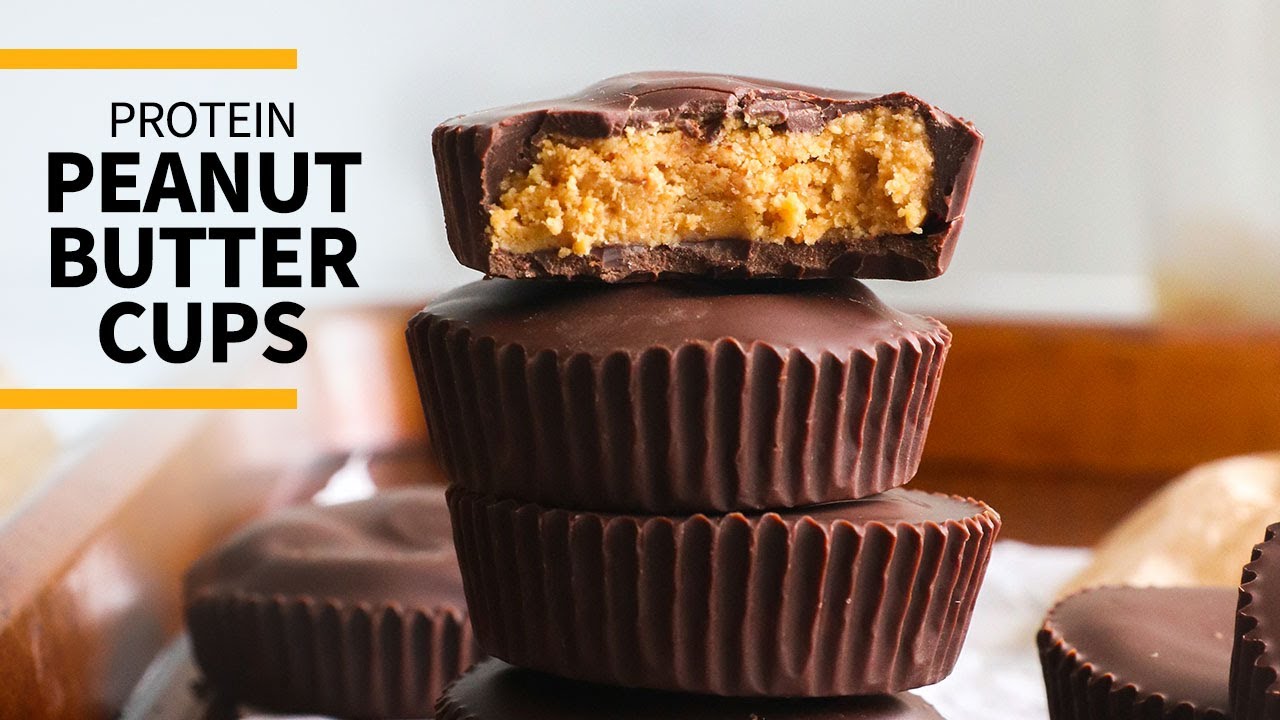
High-Protein Peanut Butter Cups (28g Per Cup, No Bake)
Classic chocolate-peanut butter cups rebuilt for muscle recovery — Greek yogurt and collagen-spiked filling layered inside dark chocolate shells. No baking, no excuses, and 28g of protein per cup. We synthesized the most effective no-bake protein candy methods into one foolproof technique.
“Reese's has 5g of protein and enough sugar to spike your blood glucose into orbit. These have 28g of protein, half the sugar, and taste better because you're using real dark chocolate instead of compound coating. The entire technique is layer, chill, repeat — and yet most people still end up with filling that leaks, chocolate that blooms, or cups that taste like chalk. The difference is understanding why each ingredient is there.”
Why This Recipe Works
A Reese's cup has 5 grams of protein. It also has 21 grams of sugar, hydrogenated vegetable oil, and an ingredient list that reads like a chemistry midterm. These have 28 grams of protein, 5 grams of sugar, and four recognizable ingredients in the filling. The engineering problem was never the flavor — chocolate and peanut butter have been solving each other's problems for a century. The engineering problem was the texture, and that problem lives entirely in how you handle the protein powder and the yogurt.
Most high-protein candy recipes fail at the equipment stage before a single ingredient is even touched. People free-form their cups in floppy silicone molds, skip the double boiler, and wonder why they end up with gray, cracked chocolate over filling that tastes like chalk. The equipment choices in this recipe are not suggestions. They are the reason the cups work.
The Equipment Logic
Start with a standard 12-cup muffin tin. Not a silicone mold, not a mini muffin pan, not freestanding parchment. A rigid metal tin with paper liners gives you vertical walls that hold shape while the chocolate sets. Without the tin's support, the liners bow outward under the weight of the filling and you get wide, flat, structurally compromised cups. The tin is also why the cups release cleanly — the combination of a cold metal surface and a paper liner means the chocolate shrinks slightly away from the walls as it chills, giving you a clean peel every time.
Chocolate requires a heatproof bowl for double boiler setup, and this is non-negotiable. Chocolate melted directly over flame goes from glossy to seized in roughly thirty seconds of inattention. Seized chocolate — where the cocoa butter separates and the mass turns grainy and unworkable — cannot be rescued. A heatproof bowl suspended over barely simmering water gives you radiant, indirect heat with a five-degree margin for error. The water should not touch the bowl's base. Steam alone is sufficient. If you hear sizzling, reduce the heat immediately.
For spreading and folding, a silicone spatula is the correct tool. A wooden spoon or metal spatula introduces air pockets into the chocolate and tears rather than sweeps the filling smooth. Silicone conforms to the bowl's contours and allows you to work chocolate to the edges of each liner with a single motion. It also folds the peanut butter filling without overworking it — critical, because overworked Greek yogurt-based fillings can thin out and weep liquid as proteins break down under mechanical stress.
Finally, a kitchen scale removes the most persistent variable in this recipe: inconsistent portion size. Dividing filling across 12 cups by eye produces exactly the kind of result you'd expect — some cups with double the filling, some so shallow the protein content per cup drops to 18 grams instead of 28. A scale set to grams and zeroed between each cup eliminates that entirely. You're not baking here. Precision is achievable in under a minute per cup.
The Filling Architecture
Natural peanut butter is the structural backbone. The fat content — roughly 16 grams per two tablespoons — creates the smooth, dense mouthfeel that makes a peanut butter cup feel indulgent rather than medicinal. Processed peanut butter brands that use palm oil and added sugar are chemically incompatible with this filling. The stabilizers prevent proper binding with the yogurt, the added sugar competes with the protein powder's solubility, and the result is a greasy, grainy filling that never fully firms. Natural peanut butter — one ingredient, maybe two with salt — binds cleanly and sets firm.
Greek yogurt provides two things: additional protein density (17 grams per half cup for nonfat) and a tangy creaminess that prevents the filling from tasting like compressed chalk dust. Fat from peanut butter coats the yogurt's whey proteins, slowing moisture loss as the filling chills. These two ingredients work together. They don't need help, they need not to be interfered with.
Vanilla protein powder is where most people ruin this recipe. In baked applications, heat gelatinizes protein powders and integrates them into the matrix smoothly. In cold, no-bake applications, the powder either dissolves into the fat-yogurt base or it doesn't — and the determining factor is the formulation, not the technique. Cheap powders are padded with maltodextrin because it's inexpensive and bulky and passes the protein-per-scoop numbers test. Maltodextrin does not dissolve cleanly in cold fat-based mixtures. A quality whey isolate or micellar casein will disappear into the filling and contribute nothing but protein. Taste the filling before you layer. If it's gritty or chalky, the powder is the problem. No amount of chilling fixes a bad protein powder choice.
Collagen peptides are the silent variable. Flavorless, fully soluble in cold applications, and structurally invisible in the finished product — one tablespoon adds approximately 9 grams of protein distributed across 12 cups. It's the difference between 20 grams and 28 grams per cup, which is the difference between a moderately useful snack and an actual post-workout recovery tool.
The Chocolate Shell
Dark chocolate at 70% cacao is correct for two independent reasons. First, the bitterness creates tension against the sweet-salty filling. That tension — bitter against rich, sharp against smooth — is the entire sensory point of a peanut butter cup. Milk chocolate collapses the contrast into something uniformly sweet and ultimately forgettable. Second, 70% dark chocolate carries roughly 6 fewer grams of sugar per ounce than milk chocolate, which matters when you're eating these as a performance food with macro targets.
Coconut oil at one tablespoon per 8 ounces of chocolate serves a precise mechanical function: it lowers the chocolate's melting point and improves fluidity at refrigerator temperature. A pure dark chocolate shell at 70% cacao, served cold, can be brittle enough to shatter on bite and send filling across your hand. The coconut oil tempers that without making the shell soft or greasy. One tablespoon. Not two.
The Chill Discipline
Two mandatory chill phases. Neither is negotiable. The first — 15 minutes minimum for the base chocolate layer — is about structural integrity. The filling weighs enough to sink through partially set chocolate, destroying the defined layers that make these visually and texturally distinct from a protein ball. The second chill, 45 minutes after the final chocolate layer, is where the whey and casein proteins continue cross-linking as temperature drops. Cups pulled at 30 minutes are noticeably softer and less cohesive than cups that have sat for a full hour. If your kitchen runs warm, extend both phases by five minutes each.
Make these Sunday. Eat them all week. The filling is demonstrably better on day three than day one as the proteins finish binding and the flavors equilibrate. They keep for two weeks refrigerated and three months frozen. There is no credible reason to buy commercial protein bars when this recipe exists, costs less per cup, and contains more protein than anything with a foil wrapper and a cartoon dumbbell on the packaging.
Where Beginners Mess This Up
Before we start, read this. These are the 4 reasons your high-protein peanut butter cups (28g per cup, no bake) will fail:
- 1
Using processed peanut butter: Natural, unsweetened peanut butter is non-negotiable here. The stabilizers in processed peanut butter (palm oil, added sugar) prevent the filling from setting correctly and compete with the protein powder's texture. You end up with a greasy, grainy filling that never quite firms up. Natural peanut butter binds cleanly with the Greek yogurt and sets properly in the fridge.
- 2
Skipping the first chocolate chill: The bottom chocolate layer must be fully set before you add the peanut butter filling. If it's still liquid or tacky, the filling sinks into it and you lose the defined layers that make these worth eating. Fifteen minutes in the refrigerator is the minimum. If your kitchen is warm, go twenty.
- 3
Not covering the filling completely with chocolate: Any exposed peanut butter filling will oxidize in the fridge, turning grayish and developing an off-flavor. The top chocolate layer must cover edge to edge. Use the back of a spoon to sweep chocolate to the edges before it sets.
- 4
Using low-quality protein powder: Cheap protein powders have filler ingredients — maltodextrin, artificial sweeteners, excessive gums — that make the filling gritty and chalky. A clean whey or casein with minimal additives dissolves smoothly into the peanut butter-yogurt base. If your filling tastes like chalk, the protein powder is the culprit.
The Video Reference Library
Want to see it in action? Here are the exact videos we analyzed and combined to build this foolproof recipe translation:
The source video demonstrating the layering technique and filling consistency. Key watch point: how the filling behaves when pressed — it should hold its shape without crumbling or spreading.
🛠️ Core Equipment
- Standard 12-cup muffin tinProvides uniform cup structure. Without it, the liners collapse and you get misshapen, uneven cups. The tin walls hold everything in place while the chocolate sets.
- Heatproof bowl for double boilerMelting chocolate directly over flame scorches it instantly. A heatproof bowl over simmering water gives you full control over temperature. Scorched chocolate is grainy, dull, and cannot be fixed.
- Silicone spatulaFor folding the filling and spreading the top chocolate layer. A rigid spoon creates air pockets in the chocolate. Silicone lets you work the chocolate to the edges cleanly.
- Kitchen scale (optional but recommended)Dividing filling equally across 12 cups by eye produces inconsistent cups — some overfilled, some too thin. A scale removes the guesswork and ensures every cup has the same protein content per serving.
High-Protein Peanut Butter Cups (28g Per Cup, No Bake)
🛒 Ingredients
- ✦1 cup natural peanut butter, unsweetened
- ✦1/2 cup plain nonfat Greek yogurt
- ✦2 scoops vanilla protein powder
- ✦2 tablespoons unsalted butter, melted
- ✦1 tablespoon unflavored collagen peptides
- ✦1 teaspoon vanilla extract
- ✦1/4 teaspoon sea salt
- ✦8 oz dark chocolate (70% cacao), chopped
- ✦1 tablespoon coconut oil
- ✦1 tablespoon honey
- ✦12 paper cupcake liners
- ✦2 tablespoons crushed almonds, optional for topping
👨🍳 Instructions
01Step 1
Line a standard 12-cup muffin tin with paper cupcake liners and place in the refrigerator to chill while you prepare the filling.
02Step 2
Combine peanut butter, Greek yogurt, protein powder, melted butter, collagen peptides, vanilla extract, and sea salt in a large mixing bowl.
03Step 3
Stir the peanut butter mixture vigorously until completely smooth and uniform, about 2 minutes. The filling should hold its shape when scooped.
04Step 4
Create a double boiler by placing a heatproof bowl over a pot of barely simmering water. Add the chopped dark chocolate, coconut oil, and honey. Stir slowly until fully melted and glossy, about 3-4 minutes.
05Step 5
Remove the muffin tin from the refrigerator. Spoon approximately 1 tablespoon of melted chocolate into the bottom of each liner, tilting slightly to coat evenly. Refrigerate for 15 minutes until fully set.
06Step 6
Divide the peanut butter filling equally among the 12 liners, pressing gently into each chocolate base. Leave approximately 1/4 inch of space at the top for the final chocolate layer.
07Step 7
If the remaining chocolate has started to firm, return it briefly to the double boiler and stir until fluid again. Pour over each peanut butter layer, covering completely to the edges.
08Step 8
Immediately sprinkle crushed almonds over the tops if using, before the chocolate sets.
09Step 9
Refrigerate for at least 45 minutes until completely firm. Do not rush this step — partially set cups collapse when removed from the liners.
10Step 10
Remove from muffin tin and peel away liners. Store in an airtight container in the refrigerator.
Nutrition Per Serving
Estimates based on standard preparation. Adjustments alter macros.
🔄 Substitutions
Instead of Plain nonfat Greek yogurt...
Use Plain 2% Greek yogurt
Slightly richer mouthfeel and more indulgent texture without sacrificing protein density. Adds minimal calories. Recommended upgrade if you find the filling too firm.
Instead of Natural peanut butter...
Use Powdered peanut butter (2/3 cup) mixed with 3 tablespoons water
Reduces fat significantly while maintaining protein. Requires slightly more Greek yogurt to compensate for reduced creaminess. Good for lower-fat macro targets.
Instead of Vanilla protein powder...
Use Chocolate protein powder
Creates a deeper double-chocolate effect in the filling. Slightly darker color. Works well if you want maximum chocolate intensity.
Instead of Dark chocolate 70%...
Use Unsweetened cacao powder mixed with coconut oil and monk fruit sweetener
Eliminates added sugar entirely and reduces carbs. More bitter profile. Mix ratio: 3 tablespoons cacao to 2 tablespoons coconut oil. Stir thoroughly to avoid grittiness.
🧊 Storage & Reheating
In the Fridge
Store in an airtight container, layered with parchment if stacking, for up to 2 weeks. Flavor and texture improve after 24 hours.
In the Freezer
Freeze individually on a parchment-lined tray until solid, then transfer to a freezer bag for up to 3 months. Thaw in the refrigerator for 30 minutes before eating.
Reheating Rules
These are served cold — no reheating needed. If frozen, do not microwave to thaw. The chocolate will melt unevenly and the filling will sweat.
❓ Frequently Asked Questions
Why is my filling grainy or chalky?
The protein powder is the most likely culprit. Cheap powders with high maltodextrin content or poor solubility create gritty texture in no-bake applications. Switch to a higher-quality whey isolate or casein. Also check that you stirred the filling for the full 2 minutes — under-mixed filling has a chalky, uneven texture.
Can I use almond butter instead of peanut butter?
Yes. Almond butter works identically in this recipe with a milder, slightly less sweet flavor. Cashew butter also works and produces the creamiest filling of the three. Avoid sunflower seed butter — the flavor profile clashes with dark chocolate.
How do I get 28g of protein per cup?
The combination of Greek yogurt, vanilla protein powder, and collagen peptides across 12 servings hits the target. If your protein powder has a lower protein density per scoop than average, the total may be slightly less. Check your specific brand's label and adjust by adding an extra half scoop if needed.
Why did my chocolate turn gray or streaky?
That's fat bloom — it happens when chocolate cools too quickly or unevenly, causing the cocoa butter to separate and rise to the surface. It's cosmetically disappointing but completely safe to eat. To prevent it, let the cups cool at room temperature for 10 minutes before transferring to the refrigerator.
Can I make these dairy-free?
Yes. Replace Greek yogurt with coconut cream yogurt (same volume) and use a dairy-free protein powder. The protein count per cup will drop depending on your yogurt substitute's protein content. Coconut cream yogurt typically has 4-6g protein versus 17g for Greek yogurt, so adjust your protein powder quantity upward.
Do these need to be refrigerated at all times?
Yes. The Greek yogurt in the filling is perishable. At room temperature, the filling softens considerably and the cups lose their structure within 30-45 minutes. Serve cold, eat fast, or keep them in a cooler if you're bringing them somewhere.

The Science of
High-Protein Peanut Butter Cups (28g Per Cup, No Bake)
We turned everything on this page into a beautiful, flour-proof PDF cheat sheet. Print it out, stick it to your fridge, and never mess up your high-protein peanut butter cups (28g per cup, no bake) again.
*We'll email you the high-res PDF instantly. No spam, just perfectly cooked meals.
AlmostChefs Editorial Team
We translate the internet's most popular cooking videos into foolproof, beginner-friendly written recipes. We analyze multiple methods, test them in our kitchen, and engineer a single "Master Recipe" that gives you the best possible result with the least possible stress.