Homemade Pierogi (The Technique That Actually Gets the Dough Right)
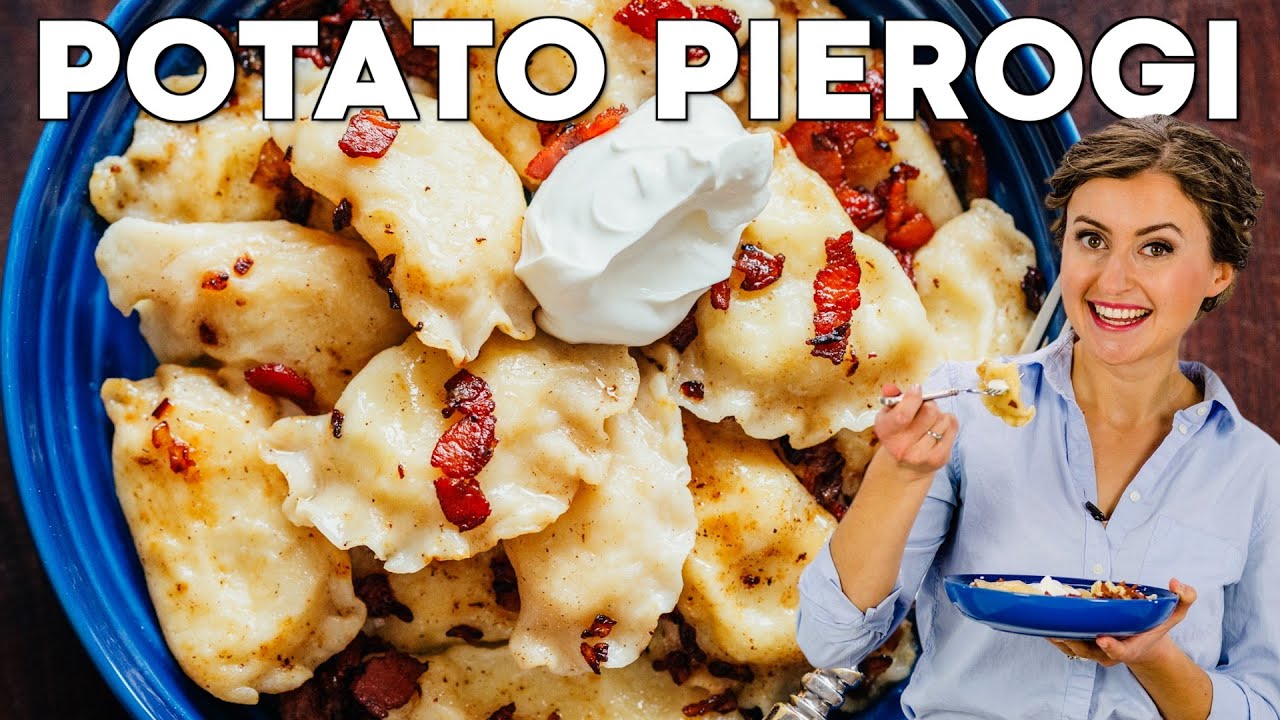
Tender potato-and-cheese dumplings wrapped in chewy, golden-crisp dough — then pan-fried with caramelized onions until they're legitimately irresistible. We broke down the most common failure points so your first batch comes out like your grandmother's hundredth.
“Pierogi are not complicated. They are precise. The dough has to be soft enough to seal without tearing and firm enough to hold together in boiling water. The filling has to be dry enough not to blow out the seams but moist enough not to taste like paste. And the pan-fry has to happen fast enough to crisp the outside without reheating the filling into rubber. Every failure in a batch of pierogi traces back to one of those three moments. This recipe handles all three.”
Why This Recipe Works
Pierogi sit at the intersection of two techniques that home cooks routinely underestimate: dough handling and filling management. Get one wrong and the whole batch fails. Get both right and you have a dish that's genuinely difficult to stop eating.
The Dough Problem
Most pierogi failures start before anyone touches a filling. Fresh dough, straight off the knead, is an elastic nightmare. The gluten network is tense and activated, which means it fights every attempt to roll it thin and springs back the moment you lift the pin. This is not a rolling technique problem. It's a chemistry problem.
The 30-minute rest under a damp towel is the solution. Gluten strands, given time and moisture, relax from their contracted state. The dough that comes off the rest is noticeably different — pliable, cooperative, and willing to hold its rolled shape. It also seals better at the fold because relaxed dough has more surface area contact when pressed, creating a stronger bond than tense dough.
The combination of all-purpose and whole wheat flour creates a dough that's tender without being fragile. All-purpose provides structure; whole wheat adds a subtle nuttiness that works well against the rich potato filling. Full whole wheat alone produces dough that's too dense and prone to tearing at the fold. The 2:1 ratio is the balance point.
The Filling Architecture
Potato filling has one enemy: water. The potato and cauliflower need to be drained so completely that they steam-dry in the colander for two minutes after draining. Any residual moisture trapped inside the sealed pierogi turns to steam during boiling and blows the seam open. This is the most common reason home-cooked pierogi explode into the water.
Cauliflower earns its place in the filling not as a health substitution but as a textural modifier. Where potato alone can become dense and gluey when mashed, cauliflower breaks the starch monotony, creating a slightly lighter filling with better separation. The flavor difference is subtle but the texture difference is real.
Fold the shredded cheddar in while the potato mixture is still hot. This matters. Cold filling with cold cheese produces hard cheese pockets that don't integrate with the potato. Hot potato melts the cheese into the filling completely, creating a cohesive, creamy consistency that stays together when you bite through it.
The Boil and Pan-Fry Sequence
Boiling is not the finished product — it's a cooking stage. The goal is to cook the dough through and heat the filling without developing any crust or color. That happens in the boiling water in 3-4 minutes, confirmed by the float. The float tells you the gas inside has expanded enough to make the dumpling buoyant, which means the dough has cooked.
The pan-fry in a cast iron skillet with butter and olive oil is what transforms a boiled dumpling into something worth eating at a dinner party. The butter provides flavor and browning; the olive oil raises the smoke point so the butter doesn't burn before the crust develops. Two to three minutes per side over medium-high heat produces a light golden crust that contrasts with the soft interior.
Caramelized onions are not a garnish. They are a flavor component that ties the dish together. They take 8-10 minutes to reach the deep mahogany color that unlocks their sweetness — the same Maillard chemistry that makes browned butter taste different from melted butter. Pull them early and you have sharp, acrid onion. Cook them to color and you have something that elevates every forkful beneath it.
The entire dish is about contrast: chewy exterior against creamy interior, rich butter against the tangy sour cream finish, soft filling against the crisp pan-fry crust. Every step in the recipe exists to protect that contrast. That's why the technique is non-negotiable.
Where Beginners Mess This Up
Before we start, read this. These are the 4 reasons your homemade pierogi (the technique that actually gets the dough right) will fail:
- 1
Skipping the dough rest: Freshly mixed dough is tight and elastic — it fights the rolling pin and springs back the moment you lift it. The 30-minute covered rest allows the gluten strands to relax completely. Rested dough rolls to an even 1/8-inch without tearing and seals cleanly at the edges. Unrested dough tears at the fold, splits during boiling, and loses filling into the water.
- 2
Wet filling blowing out the seams: Potatoes and cauliflower must be drained completely and allowed to steam-dry for 2 minutes after draining. Any residual water in the filling turns to steam during boiling and pressure-bursts the sealed edge from the inside. Mash while still warm and fold in the cheese immediately so it melts into the filling rather than sitting as distinct clumps.
- 3
Overcrowding the boiling pot: More than 8 pierogi at once drops the water temperature below a rolling boil, and they sit on the bottom of the pot instead of floating free. They stick together, tear, and cook unevenly. Work in batches of 6-8 and keep the water at a vigorous simmer throughout.
- 4
Pan-frying cold pierogi: Pierogi that have cooled completely before the pan-fry stage develop a tough, chewy exterior instead of a crispy one. Pan-fry immediately after boiling while the dough is still pliable and warm. If making ahead, bring refrigerated pierogi to room temperature for 15 minutes before hitting the pan.
The Video Reference Library
Want to see it in action? Here are the exact videos we analyzed and combined to build this foolproof recipe translation:
The source video for this recipe. Clear technique on dough consistency, filling ratio, and sealing method. Watch the boiling stage closely — the float-and-wait-one-minute rule is demonstrated in real time.
🛠️ Core Equipment
- Large heavy-bottomed potHolds enough water to keep a rolling boil through multiple batches. A thin pot loses heat too quickly when cold pierogi hit the water, causing them to sink and stick.
- Rolling pinYou need consistent 1/8-inch thickness across the entire sheet. Thicker dough doesn't seal properly; thinner dough tears under filling weight. A standard wooden rolling pin gives you the control you need.
- Biscuit cutter or wide-mouth glassClean 2-inch circles with a sharp edge seal better than hand-torn rounds. The edge of a drinking glass works but can drag and stretch the dough if the rim isn't thin.
- Large cast iron or stainless skilletEven heat across a wide surface lets you pan-fry 8-10 pierogi simultaneously without crowding. Non-stick pans don't develop the same crust because they run too cool.
Homemade Pierogi (The Technique That Actually Gets the Dough Right)
🛒 Ingredients
- ✦2 cups all-purpose flour
- ✦1 cup whole wheat flour
- ✦1 large egg
- ✦3/4 cup sour cream, divided
- ✦1/2 teaspoon salt
- ✦1/2 cup warm water
- ✦1.5 pounds russet potatoes, peeled and cubed
- ✦1 cup cauliflower florets, chopped small
- ✦1 cup sharp cheddar cheese, shredded
- ✦4 tablespoons unsalted butter, divided
- ✦1 large yellow onion, thinly sliced
- ✦2 cloves garlic, minced
- ✦1/4 teaspoon ground black pepper
- ✦1/4 teaspoon fresh dill, chopped
- ✦Salt for boiling water
- ✦2 tablespoons olive oil for pan-frying
👨🍳 Instructions
01Step 1
Combine all-purpose flour, whole wheat flour, and salt in a large bowl. Create a well in the center and add the egg, 1/2 cup sour cream, and warm water.
02Step 2
Mix with a wooden spoon until a rough dough forms, then turn out onto a lightly floured surface and knead for 8-10 minutes until smooth and elastic.
03Step 3
Shape the dough into a ball, cover with a damp towel, and rest for 30 minutes at room temperature.
04Step 4
While the dough rests, boil the cubed potatoes and cauliflower together in salted water for 12-15 minutes until completely tender.
05Step 5
Drain thoroughly and let steam-dry in the colander for 2 minutes. Mash together while still hot until mostly smooth with small chunks remaining.
06Step 6
Fold in the shredded cheese, remaining 1/4 cup sour cream, minced garlic, black pepper, and dill. Stir until the cheese melts into the filling. Taste and adjust salt.
07Step 7
Divide the rested dough in half. Roll one portion on a floured surface to 1/8-inch thickness.
08Step 8
Cut into 2-inch circles. Place 1 teaspoon of filling in the center of each circle.
09Step 9
Fold each circle in half over the filling and press the edges firmly with a fork to seal. Make sure no air pockets remain inside.
10Step 10
Bring a large pot of well-salted water to a rolling boil. Add 6-8 pierogi at a time. Cook for 3-4 minutes until they float, then let them bob for 1 more minute.
11Step 11
Remove with a slotted spoon and place on a clean kitchen towel to drain briefly.
12Step 12
In a large skillet over medium-high heat, melt 2 tablespoons butter with 1 tablespoon olive oil. Add the sliced onion and sauté for 8-10 minutes until deep golden brown. Transfer to a plate.
13Step 13
In the same skillet, add remaining butter and olive oil over medium-high heat. Pan-fry the boiled pierogi in batches for 2-3 minutes per side until light golden brown and crispy.
14Step 14
Plate immediately and top with caramelized onions. Serve with a dollop of sour cream.
Nutrition Per Serving
Estimates based on standard preparation. Adjustments alter macros.
🔄 Substitutions
Instead of All-purpose flour...
Use Whole wheat or spelt flour (full swap)
Denser, nuttier dough with improved fiber. Add 1 extra tablespoon of sour cream to compensate for the thirstier flour. Expect slightly less stretch when rolling.
Instead of Sour cream...
Use Greek yogurt
Tangier flavor, slightly lower fat. Works both in the dough and the filling without changing the texture meaningfully. Full 1:1 swap.
Instead of Butter for pan-frying...
Use Avocado oil or olive oil
Higher smoke point means you can run the pan hotter for a faster, more aggressive crust. Loses the nutty dairy flavor but the caramelized onions compensate.
Instead of Sharp cheddar...
Use Feta and ricotta blend (50/50)
Tangier, creamier filling with a slightly looser texture. Make sure to drain the ricotta in a fine-mesh sieve for 20 minutes before mixing or the filling will be too wet.
🧊 Storage & Reheating
In the Fridge
Store cooked pierogi in an airtight container for up to 4 days. Layer with parchment paper to prevent sticking.
In the Freezer
Freeze uncooked pierogi in a single layer, then bag for up to 3 months. Cook directly from frozen — boil for 5-6 minutes, then pan-fry as normal.
Reheating Rules
Pan-fry cold pierogi in a small amount of butter over medium heat for 3-4 minutes per side. The microwave turns them rubbery — avoid it.
❓ Frequently Asked Questions
Why do my pierogi keep bursting open in the water?
Two culprits: a weak seal or wet filling. For the seal, make sure you press the fork tines firmly all the way along the edge with no gaps. For the filling, drain the potatoes and cauliflower completely and let them steam-dry in the colander for at least 2 minutes before mashing. Any residual water vaporizes during boiling and blows the seam from the inside.
Can I make the dough ahead of time?
Yes. Wrap the rested dough tightly in plastic wrap and refrigerate for up to 24 hours. Remove it 15 minutes before rolling to let it come back to room temperature — cold dough is stiff and tears easily.
How do I know when the pierogi are done boiling?
They float when the dough is cooked through. But floating alone isn't enough — let them bob on the surface for one additional minute after they rise. This ensures the filling is heated all the way through, not just the outer dough.
Can I skip the pan-fry step?
Technically yes, but you'd be missing the best part. Boiled-only pierogi are soft and a little bland. The pan-fry step creates a crispy, slightly browned exterior that provides textural contrast and amplifies the buttery flavor. It takes 5 minutes and is not optional if you want a great result.
Why is my dough tearing when I fold it?
Either the dough wasn't rested long enough, or you rolled it too thin. 1/8-inch is the target — thin enough to be tender but thick enough to fold without cracking. If you're getting tears consistently, rest the dough for an additional 15 minutes and roll slightly thicker.
Can I use a different filling?
Absolutely. Sauerkraut and mushroom is the classic meatless alternative. Sweet fillings like blueberry or strawberry exist in Polish and Ukrainian traditions. The dough recipe is the constant — the filling is where regional identity lives.

The Science of
Homemade Pierogi (The Technique That Actually Gets the Dough Right)
We turned everything on this page into a beautiful, flour-proof PDF cheat sheet. Print it out, stick it to your fridge, and never mess up your homemade pierogi (the technique that actually gets the dough right) again.
*We'll email you the high-res PDF instantly. No spam, just perfectly cooked meals.
AlmostChefs Editorial Team
We translate the internet's most popular cooking videos into foolproof, beginner-friendly written recipes. We analyze multiple methods, test them in our kitchen, and engineer a single "Master Recipe" that gives you the best possible result with the least possible stress.