One Rotisserie Chicken, Three High-Protein Meals (The Only Meal Prep You Need)
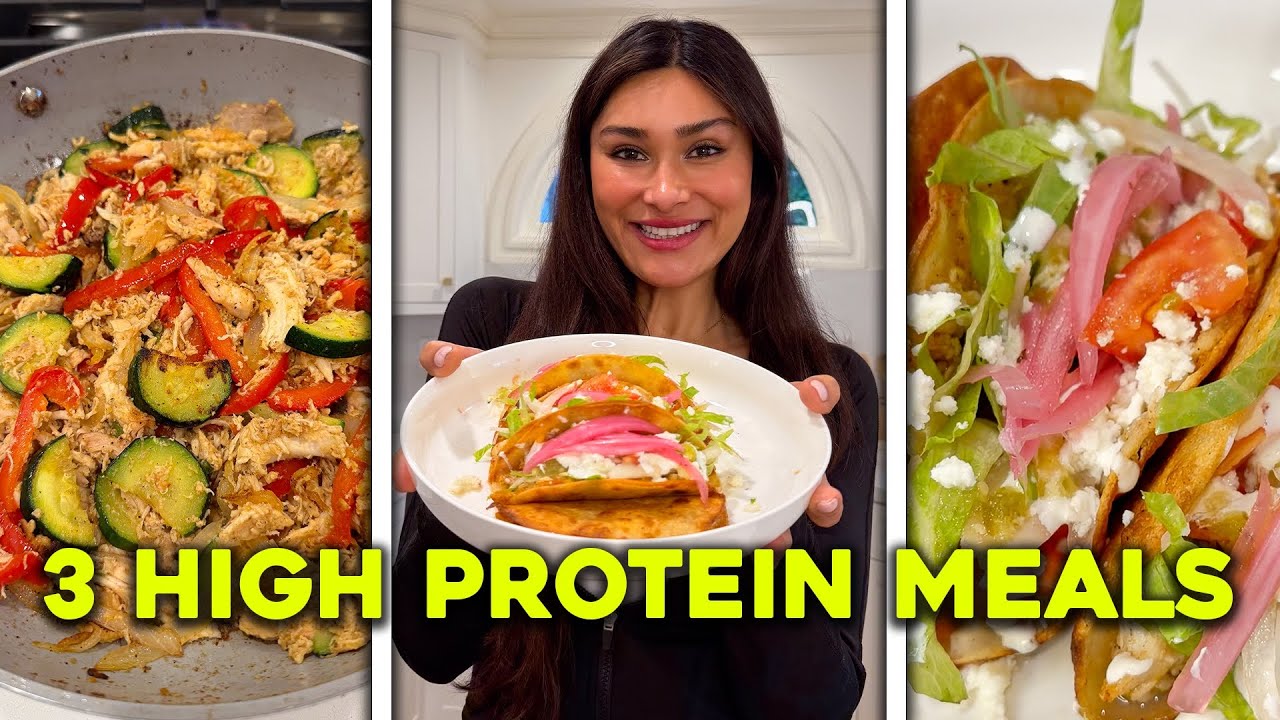
A single home-roasted chicken — seasoned with smoked paprika, garlic, and fresh herbs — becomes three complete high-protein meals: vibrant tacos, a classic salad sandwich, and a mineral-rich bone broth soup. We mapped the full technique so nothing goes to waste and every gram of protein earns its place.
“Most meal prep advice tells you to cook a chicken. Almost none of it tells you how to actually use the whole thing. The bones get tossed. The dark meat sits forgotten. Half a cup of drippings goes down the drain. This recipe treats a four-pound bird as an architecture problem — every part has a job, every gram of protein has a destination, and by the time you're done you have three distinct meals that taste nothing like leftovers.”
Why This Recipe Works
A four-pound chicken costs less than almost any other form of protein per gram. It also contains two fundamentally different cuts of meat, a cavity full of aromatic steam potential, and a carcass that, treated correctly, produces a quart of broth worth more than the box version on the store shelf. The only way to waste money on a whole chicken is to not understand what you actually bought.
The Architecture Problem
Most meal prep recipes treat leftovers as an afterthought — make one thing, eat the rest later. This recipe inverts that logic. The three meals are designed simultaneously, each claiming a different part of the bird based on what that part does best. Breast meat is lean, mild, and texturally firm — it carries fresh flavors like lime, cilantro, and salsa without getting lost. Thigh and leg meat is fattier, more intensely flavored, and structurally resilient — it survives a 30-minute simmer in hot broth without turning chalky. The bones, skin, and connective tissue that most home cooks discard are the raw material for a stock that no box can replicate.
This is not leftovers management. It's load-bearing design.
Why You Roast at Home
Store rotisserie chickens are convenient and they taste fine. They also contain sodium levels that make the rest of your meal prep math irrelevant, they're roasted hours before you buy them, and their carcasses have already been commercially exploited — the bones produce thin, flat broth. A home-roasted bird at 425°F for 80 minutes costs less, seasons exactly to your specs, produces drippings you control, and gives you a carcass at peak collagen content that makes broth worth making.
The seasoning technique matters here. Most recipes tell you to rub spices on the skin. Skin is fat. Fat insulates. The spices sit on top of a barrier while the meat underneath stays bland. Working the seasoning under the skin — directly onto the breast and thigh flesh — means the flavors cook into the protein instead of floating on the surface. It takes thirty extra seconds and produces dramatically better results.
The Broth Is the Third Meal
The soup is not an afterthought. It is a collagen-rich, mineral-dense meal that uses the full structural potential of the bird — and it's the one that requires the least active cooking time. While the chicken rests, the carcass goes into the pot. While you're shredding the meat for tacos and salad, the broth is building depth. By the time meals one and two are assembled, meal three is twenty minutes from done.
The critical variable is the simmer temperature. A gentle simmer — small bubbles, not a rolling boil — draws gelatin and flavor from the bones without emulsifying the fat into permanent cloudiness. Use a heavy stockpot that holds heat evenly. Check the temperature if you have a thermometer: 185–190°F is the ideal broth temperature. The moment you hit a hard boil, you've changed the physics and you cannot go back.
Sequencing the Three Meals
Execution order matters. The bone broth is the longest task and should start immediately after carving. The tacos assemble in minutes and can be built while the broth simmers. The salad takes longer only if you're making everything from scratch — otherwise it's shredded chicken, mayo, celery, and salt on bread or greens.
Think of the whole process as one cooking session: roast and rest the bird, carve and separate the meat, start the broth, make the salad, make the tacos, finish and strain the soup. Total active time is under 45 minutes across two hours of elapsed time. The oven does most of the work. The stockpot does the rest.
The Nutritional Argument
Fifty-four grams of protein per serving across all three preparations. Seven grams of fiber from the black beans alone. Sodium controlled because you roasted and seasoned the bird yourself. This is what meal prep is supposed to look like — not a week of identical containers, but three meals with distinct flavor profiles, all traced back to one bird, one roasting rack, and one decision to use the whole thing.
Where Beginners Mess This Up
Before we start, read this. These are the 4 reasons your one rotisserie chicken, three high-protein meals (the only meal prep you need) will fail:
- 1
Roasting a wet chicken: Moisture on the skin creates steam in the oven, and steam is the enemy of crispiness. Pat the bird completely dry with paper towels before seasoning — inside the cavity too. A dry surface lets the skin brown through the Maillard reaction instead of steaming itself into pale, rubbery leather.
- 2
Pulling the chicken before it rests: Ten to fifteen minutes of resting after roasting is not optional. During that time, the muscle fibers relax and reabsorb the juices that migrated toward the center during cooking. Carve immediately and those juices run out onto the cutting board. Rest it and the meat stays moist through all three meals.
- 3
Discarding the carcass: The bones, skin, and connective tissue left after carving are the foundation of the soup. Throwing them away means buying broth from a box and losing the collagen, gelatin, and deep roasted flavor that makes the third meal worth eating. Put them in the pot. Every time.
- 4
Using the same meat for every meal: Breast meat and thigh meat behave differently. Breast is lean and mild — ideal for the tacos and salad where texture and freshness carry the dish. Thigh and leg meat is fattier and more intensely flavored — it holds up better in the hot soup without drying out. Separate them intentionally.
The Video Reference Library
Want to see it in action? Here are the exact videos we analyzed and combined to build this foolproof recipe translation:
The source video that maps the full three-meal workflow. Best reference for understanding how to portion the shredded meat and sequence the cooking so all three meals come together without redundancy.
🛠️ Core Equipment
- Roasting rack set in a baking panElevating the chicken lets hot air circulate under the bird, crisping the bottom skin instead of steaming it in its own drippings. A flat pan produces a soggy undercarriage.
- Instant-read thermometerThe difference between 160°F and 175°F is the difference between dry breast meat and juicy thigh meat. You cannot eyeball doneness on a whole bird. Check both.
- Fine-mesh sieveFor straining the bone broth cleanly. A colander leaves bone fragments and cloudy sediment in your soup. The sieve catches everything and produces a clear, clean stock.
- Heavy stockpotThe bone broth simmer takes 30-40 minutes. A thin pot scorches the bottom and muddies the flavor. A [heavy stockpot](/kitchen-gear/review/stockpot) maintains an even, gentle simmer that draws flavor from the bones without bitterness.
One Rotisserie Chicken, Three High-Protein Meals (The Only Meal Prep You Need)
🛒 Ingredients
- ✦1 whole chicken (4–5 lbs), patted dry
- ✦3 tablespoons extra virgin olive oil
- ✦2 teaspoons kosher salt
- ✦1 teaspoon freshly ground black pepper
- ✦2 teaspoons garlic powder
- ✦2 teaspoons smoked paprika
- ✦1 teaspoon onion powder
- ✦3 sprigs fresh rosemary and thyme, roughly chopped
- ✦1 whole lemon, halved
- ✦6 cups low-sodium chicken broth
- ✦3 medium carrots, cut into 1-inch pieces
- ✦3 celery stalks, cut into 1-inch pieces
- ✦1 large yellow onion, diced into chunks
- ✦1 can (15 oz) black beans, drained and rinsed
- ✦8 small whole wheat tortillas
- ✦1 cup fresh salsa
- ✦1 lime, cut into wedges
- ✦Fresh cilantro for garnish
👨🍳 Instructions
01Step 1
Pat the chicken completely dry inside and out with paper towels.
02Step 2
Combine kosher salt, black pepper, garlic powder, smoked paprika, onion powder, and chopped fresh herbs in a small bowl.
03Step 3
Rub the seasoning blend generously over the entire bird, working it under the skin on the breasts and thighs for direct-contact flavor penetration.
04Step 4
Stuff the cavity with both lemon halves to add citrus steam during roasting.
05Step 5
Place the chicken breast-side up on a roasting rack in a baking pan. Drizzle with olive oil.
06Step 6
Roast at 425°F for 60–90 minutes until an instant-read thermometer reads 165°F at the thickest part of the thigh, not touching bone.
07Step 7
Remove the chicken from the oven and let it rest uncovered on the rack for 10–15 minutes before carving.
08Step 8
Carve the chicken, separating breast meat from thigh and leg meat. Shred all meat into bite-sized pieces — you should have approximately 2–3 cups total.
09Step 9
Place the carcass, bones, and any skin into a stockpot. Add the chicken broth and bring to a gentle simmer over medium heat.
10Step 10
Add carrots, celery, and onion to the pot. Simmer uncovered for 30–40 minutes until the vegetables are tender and the broth is deeply flavored.
11Step 11
Strain the broth through a fine-mesh sieve into a clean container, discarding the spent bones and vegetables.
12Step 12
Return the strained broth to the pot. Stir in the black beans and 1 cup of the reserved thigh/leg meat. Simmer for 5 minutes to combine.
13Step 13
Use the remaining breast meat for tacos (tortillas, salsa, cilantro, lime) and a chicken salad (mayo, celery, salt, pepper on bread or greens).
14Step 14
Portion any remaining shredded chicken into airtight containers and refrigerate or freeze for the week.
Nutrition Per Serving
Estimates based on standard preparation. Adjustments alter macros.
🔄 Substitutions
Instead of Whole wheat tortillas...
Use Large leafy greens (romaine or spinach)
Lower carb count, more satisfying crunch, better blood sugar response. Works well for the tacos if you want to skip the grain entirely.
Instead of Smoked paprika...
Use Ground cumin and dried oregano
Slightly earthier flavor profile without the smoke notes. Equally savory and better suited to a Latin or Mediterranean lean on the seasoning.
Instead of Fresh salsa...
Use Homemade pico de gallo with lime and jalapeño
Eliminates added sugars and sodium from jarred versions. Brighter, fresher taste and better nutrient bioavailability from the raw vegetables.
Instead of Low-sodium chicken broth...
Use Homemade bone broth or vegetable stock
Richer umami flavor, higher collagen content, better amino acid profile. If you're already making bone broth from the carcass, simply extend the simmer to 2–3 hours instead of 40 minutes.
🧊 Storage & Reheating
In the Fridge
Store shredded chicken in airtight containers for up to 4 days. Keep the soup separate from the raw shredded meat — the hot broth will continue cooking the chicken if stored together.
In the Freezer
Freeze portioned shredded chicken for up to 3 months. Freeze the soup separately in quart containers for up to 2 months.
Reheating Rules
Reheat chicken in a covered skillet with a splash of broth or water over medium-low heat to prevent drying. Reheat soup on the stovetop over medium heat — do not microwave the shredded chicken or it will turn rubbery.
❓ Frequently Asked Questions
Can I use a store-bought rotisserie chicken instead?
Yes, but you lose control over sodium — most store rotisserie chickens run 400–600mg of sodium per serving before you add anything else. You also lose the roasting drippings and the ability to season under the skin. The home-roasted version produces noticeably better broth from the carcass because the bones haven't already been leached during commercial roasting.
How do I know when the chicken is actually done?
Use an instant-read thermometer at the thickest part of the thigh, not touching bone. 165°F is the USDA safe minimum, but thigh meat is significantly more tender and juicy at 175°F. Breast meat peaks at 165°F — pull the bird when the thigh reads 170–175°F and the breast will be safely past 165°F.
Why does my bone broth come out cloudy?
Cloudy broth usually means the liquid boiled instead of simmered. A rolling boil emulsifies fat and proteins into the water, creating permanent cloudiness. Keep the heat at a gentle simmer — small bubbles breaking the surface occasionally, not a vigorous roll. Strain through a fine-mesh sieve to remove solids.
Can I make this with just chicken thighs instead of a whole bird?
You can, but you forfeit the broth and the three-meal architecture. The whole point of the recipe is maximizing a single bird — breast for fresh preparations, dark meat for hot dishes, bones for broth. Boneless thighs give you one meal and no carcass to work with.
How long does the shredded chicken keep?
Up to 4 days refrigerated in an airtight container. For the best texture beyond day two, store it submerged in a small amount of broth — this prevents the surface proteins from drying and keeps the meat moist through the end of the week.
What's the best way to shred the chicken?
Two forks work, but two hands are faster. Let the chicken cool just enough to handle — about 5 minutes after resting — then pull the meat apart along the grain. It shreds cleanly when warm. Cold chicken from the fridge resists shredding and produces uneven chunks.

The Science of
One Rotisserie Chicken, Three High-Protein Meals (The Only Meal Prep You Need)
We turned everything on this page into a beautiful, flour-proof PDF cheat sheet. Print it out, stick it to your fridge, and never mess up your one rotisserie chicken, three high-protein meals (the only meal prep you need) again.
*We'll email you the high-res PDF instantly. No spam, just perfectly cooked meals.
AlmostChefs Editorial Team
We translate the internet's most popular cooking videos into foolproof, beginner-friendly written recipes. We analyze multiple methods, test them in our kitchen, and engineer a single "Master Recipe" that gives you the best possible result with the least possible stress.