Crispy Hash Browns (Stop Squeezing Wrong)
Shredded russet potatoes pan-fried in a cast-iron skillet until golden and shatteringly crisp. We broke down the most popular YouTube methods to isolate the one technique that actually removes enough moisture — because that's the only variable that matters.
“Hash browns are three ingredients and fifteen minutes of prep. They should be one of the easiest things you make for breakfast. And yet almost every homemade version comes out soft, steamy, and pale — more potato cake than hash brown. The entire problem is moisture. Not the pan. Not the oil. Not the heat. Moisture. Once you understand how to actually remove it, you'll never make a bad hash brown again.”
Why This Recipe Works
Hash browns are proof that technique matters more than ingredients. You have four real components — potato, fat, heat, and time — and the window between perfect and bad is surprisingly narrow. Most failures come from a single cascade: too much moisture causes low pan temperature, which causes steaming instead of frying, which produces the soft pale result that makes people blame the recipe.
The Moisture Problem Is Not Optional
Russet potatoes are approximately 79% water by weight. You are going to squeeze out as much of that as possible before anything touches a pan. This is not a step you can rush or partially complete and compensate for elsewhere. There is no compensating elsewhere.
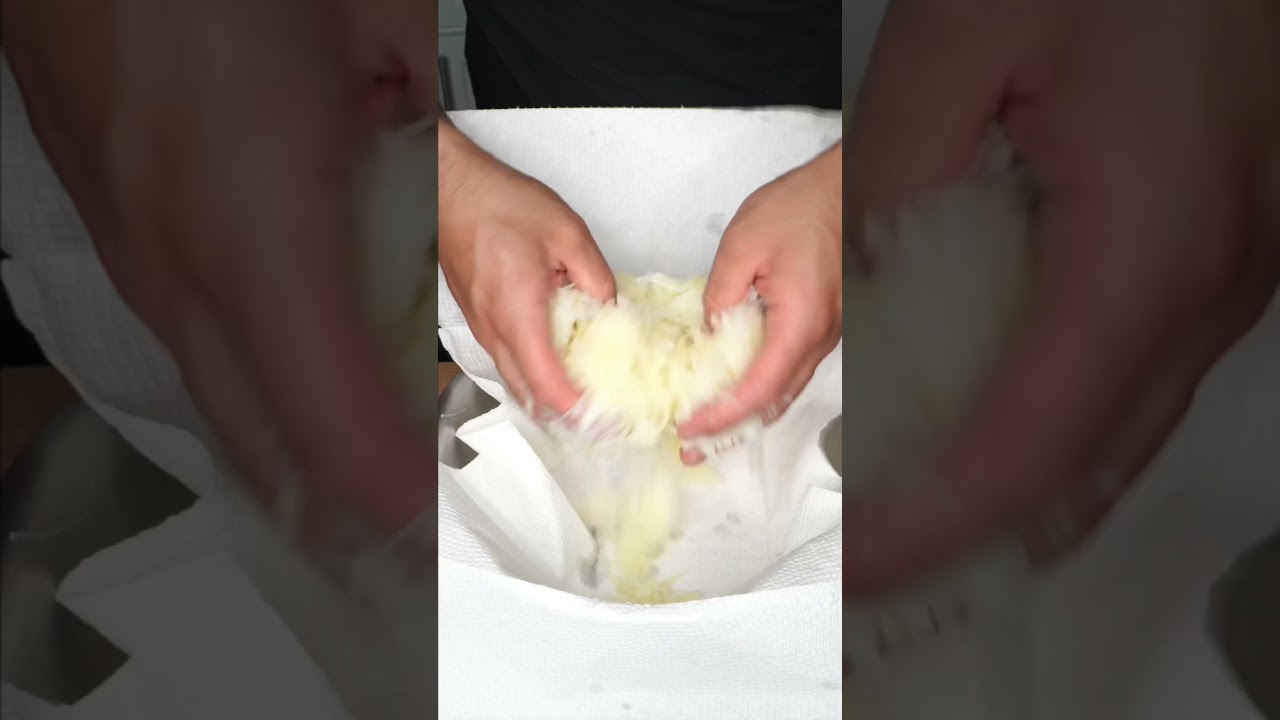
The technique: work in batches, load the kitchen towel, twist hard over the sink, and keep squeezing until you feel the resistance change — the towel gets wetter, the potato gets denser, and eventually nothing more comes out. That's done. A single half-hearted squeeze of the full two pounds is not done. Budget 3-4 minutes just for this step and treat it as the most important thing you'll do for this recipe.
Why russet specifically? High starch content. The starch on the exterior of each shred gelatinizes and sets when it hits hot oil, forming the crust. Waxy potato varieties like Yukon Gold contain more moisture and less starch, which means a denser, wetter result even when squeezed. Russet is not the default by accident.
Heat Staging
The oil goes in first and gets hot — shimmering, nearly smoking — before anything else happens. This matters because when you add cold, dense potato to a pan, the surface temperature of that pan drops immediately. If you started with barely-warm oil, that drop takes you below the Maillard threshold (around 280°F) and you're sautéing, not frying.
A cast-iron skillet holds its temperature through this load shock better than any other material. Thin stainless works adequately. Non-stick is the worst choice at this heat level — the coating degrades, and the pan can't sustain the sustained high heat that builds a proper crust.
Press the potato in flat and dense. Compact contact = more crust surface area. Then do nothing. No stirring. No peeking underneath. No adjusting the edges. Set a timer for 8 minutes and walk away. The visual cue that tells you the crust is ready is the edges: they'll pull away from the pan sides slightly and the bottom will smell of toasted potato, not raw starch. When you see that, the flip is ready.
Seasoning Architecture
Salt goes in at mix time, not at squeeze time. This is not arbitrary. Salt draws moisture out of cells through osmosis — if you salt the raw potato before squeezing, you create a second wave of moisture to deal with while also partially softening the starch structure that creates crunch. Mix salt in right before the potato hits the pan, and you get seasoning without sabotaging the texture.
The smoked paprika is a flavor amplifier, not a spice statement. At half a teaspoon across two pounds of potato, it deepens the savory baseline without reading as paprika. The garlic does the same — it caramelizes against the hot pan and contributes a toasted, savory depth that disappears into the background while making everything taste more like itself.
Fresh herbs go on at the end. Chives and parsley cooked into hot fat lose their brightness in under 30 seconds. Scattered over the finished hash browns, they stay vivid and add contrast — both visual and aromatic — against the golden crust.
The Flip
Break the hash brown into 3-4 sections before flipping. Attempting a single full-pan flip with two pounds of potato is how you end up with hash browns on the stovetop, the counter, and possibly yourself. Sections flip cleanly, cook evenly on the second side, and reassemble on the serving plate without anyone knowing the difference.
The second side takes 5-7 minutes. You can stir occasionally here — the crust is already established, and you're just finishing the cooking rather than building structure. The edges should get some char. That's not a mistake. That slightly bitter, crispy edge is the reason people order hash browns at diners instead of making potato salad.
Where Beginners Mess This Up
Before we start, read this. These are the 4 reasons your crispy hash browns (stop squeezing wrong) will fail:
- 1
Insufficient moisture removal: Shredded potatoes are roughly 80% water. If you give the towel a half-hearted squeeze and call it done, that water releases into the pan the moment the potato hits hot oil. The temperature drops, the potatoes steam instead of fry, and you get pale, soft results. Squeeze in batches, hard, until the towel is visibly wet and nothing more comes out.
- 2
Moving the potatoes too early: A crust forms through sustained contact with a hot surface. Every time you push the potatoes around in the first 8 minutes, you break that contact and reset the clock. Press them down, set a timer, and leave them alone until the edges pull away from the pan on their own — that's the signal the crust has formed.
- 3
Low heat: Hash browns need medium-high heat to fry, not medium. Too low and the oil never gets hot enough to trigger the Maillard reaction. The potatoes absorb the oil and stew in it instead of crisping against it. The oil should be shimmering and almost smoking before the potatoes go in.
- 4
Skipping the onion distribution: Onion and garlic need to be evenly distributed through the potato mixture before it hits the pan. Clumps of onion steam in the middle and never crisp. Even distribution means every bite has flavor, not just the edges.
The Video Reference Library
Want to see it in action? Here are the exact videos we analyzed and combined to build this foolproof recipe translation:
The source video for this recipe. Clear demonstration of the squeeze technique and the visual cues for when the crust is ready to flip.
🛠️ Core Equipment
- Cast-iron skilletRetains heat better than any other pan. When you add cold wet potatoes to a regular skillet, the temperature drops sharply. Cast iron holds its temperature through the load, maintaining the surface heat needed to immediately start forming a crust.
- Clean kitchen towels (not paper towels)Paper towels shred under aggressive squeezing and leave fibers in the potatoes. A thick cotton kitchen towel can absorb dramatically more water and handle the force required to actually remove moisture.
- Box grater or food processor with shredding discConsistent shred size means even cooking. Hand-cut potatoes cook unevenly — some pieces finish while others are still raw. A grater gives you uniform strands that crisp at the same rate.
- Wide stiff spatulaYou need to flip large sections cleanly without breaking them apart. A flexible fish spatula or a wide offset spatula gives you the leverage and surface area to flip without the hash browns falling apart.
Crispy Hash Browns (Stop Squeezing Wrong)
🛒 Ingredients
- ✦2 pounds russet potatoes, peeled and shredded
- ✦1 medium yellow onion, finely diced
- ✦2 cloves garlic, minced
- ✦3 tablespoons extra-virgin olive oil
- ✦1 teaspoon sea salt
- ✦1/2 teaspoon fresh cracked black pepper
- ✦1/2 teaspoon smoked paprika
- ✦2 tablespoons fresh chives, chopped
- ✦1 tablespoon fresh parsley, finely minced
👨🍳 Instructions
01Step 1
Place the shredded potatoes in a clean kitchen towel and squeeze firmly over the sink to remove as much moisture as possible, working in batches if needed.
02Step 2
Transfer the dried potatoes to a large mixing bowl and add the diced onion, minced garlic, sea salt, black pepper, and smoked paprika.
03Step 3
Toss the potato mixture together with your hands or a wooden spoon until all ingredients are evenly distributed throughout.
04Step 4
Heat the olive oil in a large cast-iron skillet over medium-high heat for about 2 minutes until the oil is shimmering and just beginning to smoke at the edges.
05Step 5
Press the potato mixture into the hot skillet using a spatula to create an even, compact layer across the entire pan surface.
06Step 6
Cook without stirring for 8 to 10 minutes until the bottom develops a golden-brown crust and the edges begin to pull away from the sides of the pan.
07Step 7
Break the hash browns into large chunks using your spatula and flip each section carefully to expose the uncooked side to the hot pan.
08Step 8
Continue cooking for another 5 to 7 minutes, stirring occasionally, until all sides are crispy and golden brown with some charred edges.
09Step 9
Taste a small piece and adjust seasoning with additional salt and pepper if needed.
10Step 10
Transfer to a serving platter and immediately sprinkle with fresh chives and parsley. Serve while still hot.
Nutrition Per Serving
Estimates based on standard preparation. Adjustments alter macros.
🔄 Substitutions
Instead of Russet potatoes...
Use Red or purple potatoes with skin left on
Firmer texture with more nutrient density. The skin adds fiber and helps maintain crispier edges. Expect a denser, slightly chewier result.
Instead of Extra-virgin olive oil...
Use Ghee or avocado oil
Higher smoke point makes these better suited to the heat required. Ghee adds a nutty, buttery flavor. Avocado oil is neutral and clean.
Instead of Yellow onion...
Use Green onions or leeks
Milder flavor with a fresher finish. Green onions don't need to be cooked as long and work well stirred in at the end rather than mixed into the raw potato.
Instead of Smoked paprika...
Use Turmeric or curry powder
Shifts the flavor profile from smoky-American to warm-earthy. Turmeric stains aggressively — expect golden potatoes. Reduce to 1/4 teaspoon for curry powder.
🧊 Storage & Reheating
In the Fridge
Store in an airtight container for up to 3 days. The crust softens significantly — reheat in a dry skillet to restore it.
In the Freezer
Freeze cooked hash browns in a single layer on a baking sheet, then transfer to a bag for up to 1 month. Reheat from frozen in a 400°F oven for 10-12 minutes.
Reheating Rules
Dry skillet over medium heat, 3-4 minutes per side. Do not microwave — it steams the crust into mush.
❓ Frequently Asked Questions
Why are my hash browns always soggy?
Moisture. Potatoes are mostly water, and if you don't squeeze aggressively, that water releases into the pan and drops the temperature. The potatoes steam instead of fry. Squeeze in batches, hard, until the towel is soaked and nothing more comes out.
Do I have to use a cast-iron skillet?
No, but it's the best option. A stainless steel skillet works well at high heat. Non-stick pans can work but typically can't sustain the high heat needed for a proper crust without degrading the coating over time.
Can I make hash browns ahead of time?
You can shred and squeeze the potatoes up to 2 hours in advance. Keep them in a bowl, covered, at room temperature. Do not season them until you're ready to cook — salt draws out moisture and undoes your prep work.
Why do my hash browns fall apart when I flip them?
Two reasons: the crust hasn't fully formed yet, or you're trying to flip them as one piece when they should be broken into sections. Wait for the edges to pull away from the pan before touching them, and flip in 3-4 chunks rather than attempting a single flip.
Can I add cheese or other mix-ins?
Yes, but add them after the first flip, not before. Cheese added to the raw potato mixture steams and prevents crisping. Added after the flip, it melts over the crust without disrupting the bottom.
Is there a way to make them crispier?
Three variables: drier potatoes, hotter oil, thinner layer. Squeeze harder, let the oil get hotter before adding the potatoes, and press the layer thinner across a larger pan surface. All three increase the crust-to-interior ratio.

The Science of
Crispy Hash Browns (Stop Squeezing Wrong)
We turned everything on this page into a beautiful, flour-proof PDF cheat sheet. Print it out, stick it to your fridge, and never mess up your crispy hash browns (stop squeezing wrong) again.
*We'll email you the high-res PDF instantly. No spam, just perfectly cooked meals.
AlmostChefs Editorial Team
We translate the internet's most popular cooking videos into foolproof, beginner-friendly written recipes. We analyze multiple methods, test them in our kitchen, and engineer a single "Master Recipe" that gives you the best possible result with the least possible stress.