Perfect Grilled Asparagus (Stop Overcooking It)
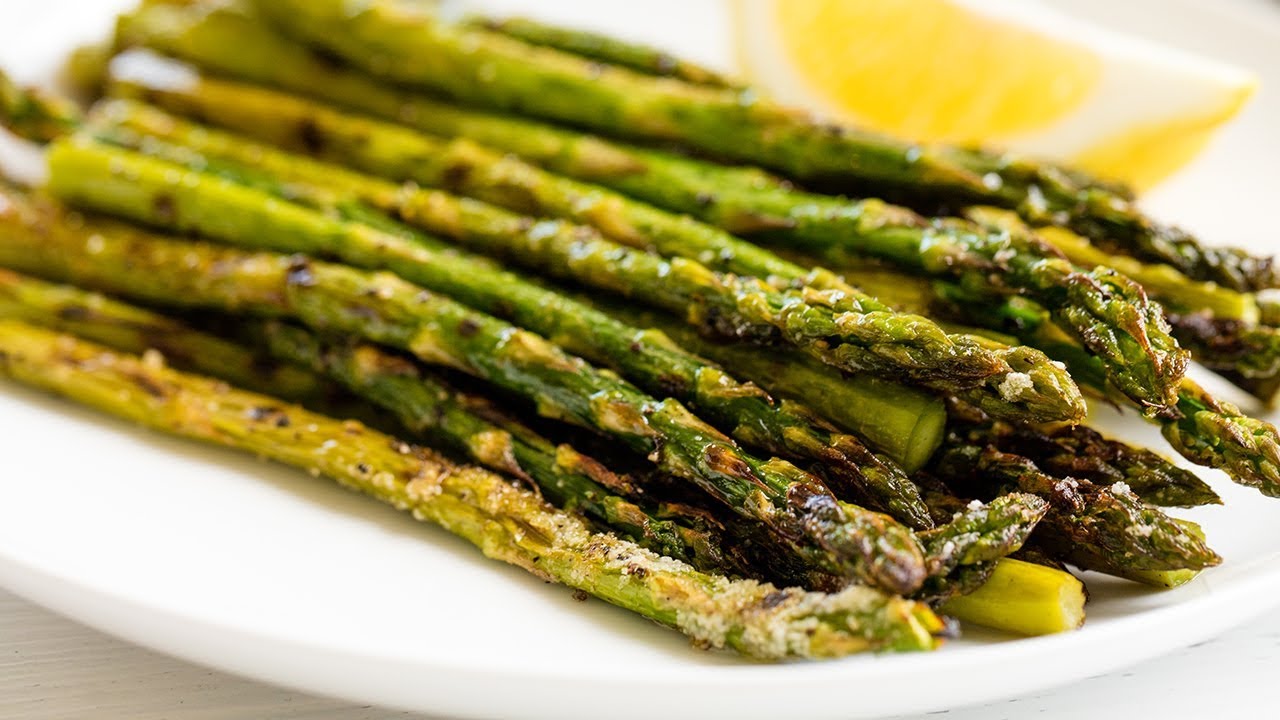
Bright green asparagus spears with proper char marks, a smoky caramelized exterior, and a tender-crisp interior. We broke down the most common grilling mistakes to build one foolproof weeknight method that works every time — no mushy spears, no raw centers.
“Asparagus is one of the most forgiving vegetables on a grill — until you overcook it. Thirty seconds past the window and you go from tender-crisp to limp, stringy, and sad. The difference between asparagus that disappears off the platter and asparagus that gets quietly pushed to the side is grill temperature, spear thickness, and knowing exactly when to pull. We ran the numbers so you don't have to guess.”
Why This Recipe Works
Asparagus is a vegetable that punishes distraction. The window between perfect tender-crisp and disappointing limpness is measured in seconds, not minutes. Most grilled asparagus fails not because of bad ingredients but because of misunderstood physics — specifically, what happens to a plant cell when you apply high, dry heat versus low, wet heat.
The Drying Imperative
Water is the enemy of char. When a wet asparagus spear hits a hot grill grate, the surface moisture immediately converts to steam. That steam creates a micro-barrier between the vegetable and the metal, dropping the surface temperature at the contact point by 30 to 50 degrees. The Maillard reaction — the non-enzymatic browning that produces the complex, slightly bitter char you want — requires sustained surface temperatures above 280°F. Surface steam prevents you from getting there.
This is why the pat-dry step is not a suggestion. It's the entire setup for everything that follows. Dry surface, hot grate, immediate sizzle, char marks in 3 minutes. Wet surface, cooled grate, steam cloud, pallid spears in 6 minutes that still somehow taste undercooked.
Thickness Is a Variable, Not a Default
The asparagus industry doesn't sort for your convenience. A bunch from the farmers market might contain pencil-thin spears alongside medium ones, and they cook at wildly different rates. Thin spears (pencil diameter) are done in 2 minutes total on a hot grill. Medium spears (pencil eraser diameter) need 6 to 7 minutes. Thick spears (thumb-width) need 8 to 10 minutes and benefit from a brief oil rest after grilling.
Sort your spears before you season them. Grill by thickness. Pull thin spears first. This isn't extra work — it's the only way to serve a platter where every piece is edible.
The Garlic Problem and the Solution
Raw minced garlic on a hot grill burns before the asparagus finishes cooking. Burned garlic tastes acrid and bitter, not savory. The solution embedded in this recipe: mince the garlic fine and toss it with the asparagus in the oil. The oil creates a thin protective coating around the garlic particles, moderating their exposure to direct heat. Small burned bits are inevitable — they're acceptable. Large chunks of blackened garlic are not.
If you want maximum garlic flavor without any burn risk, swap minced for garlic powder and increase to 1.5 teaspoons. Less drama, still effective.
Acid Timing Is Everything
The lemon juice and balsamic finish only works on hot asparagus. Here's why: plant cell walls are semi-permeable, and when the cells are hot, they're more open to absorption. The acid from the lemon juice penetrates the surface and brightens from the inside. As the spears cool, the cells contract and the surface closes. Acid applied to cold asparagus sits on top — it flavors your fingertips, not the vegetable.
This principle applies to most roasted and grilled vegetables. Acid goes on hot. Always.
The Grate Position Rule
Perpendicular placement is about physics, not aesthetics. Asparagus spears are round in cross-section. Laying them parallel to the grates means each spear balances on two narrow ridges with nothing supporting the middle — they roll, they fall, they cook unevenly. Perpendicular placement means each spear rests across multiple grate bars, stable and flat, with even heat distribution along its entire length.
The char marks running across the spear at regular intervals are also, incidentally, beautiful. Use long tongs for the flip — you need to rotate individual spears with precision, not wrestle the whole batch at once.
The Cheese Decision
Pecorino Romano is sharper and saltier than Parmesan, with a more assertive sheep's milk tang that cuts through the smokiness of the char. It's applied at the end, off heat, because it's meant to be tasted as a distinct element — not melted into the surface. The contrast between warm asparagus, bright lemon acid, and cold sharp cheese is what makes the dish complete rather than merely good.
Finish with the cheese. Serve immediately. This is a dish that waits for no one.
Where Beginners Mess This Up
Before we start, read this. These are the 4 reasons your perfect grilled asparagus (stop overcooking it) will fail:
- 1
Skipping the dry step after washing: Wet asparagus steams instead of grills. Water on the surface drops the grill temperature on contact and creates a layer of steam that prevents the Maillard reaction from happening. Pat every spear completely dry before oiling. This single step is the difference between char marks and pallid, flaccid spears.
- 2
Using spears that are too thin: Pencil-thin asparagus overcooks in under 2 minutes on a hot grill — by the time you have any char, the interior is gone. Medium-thickness spears (about the diameter of a pencil eraser) give you the window you need to build exterior color while keeping the center tender-crisp. Thick spears need an extra 2 minutes; thin spears need a vigilant eye or a cooler zone.
- 3
Laying spears parallel to the grates: Perpendicular is not a suggestion. Spears laid parallel to the grates fall through when you try to flip them, and those that don't end up sitting in gaps with uneven heat exposure. Perpendicular placement gives you full contact with the grates, even char marks on both sides, and clean flipping.
- 4
Skipping the acid finish: Asparagus grilled without acid tastes flat. The lemon juice and balsamic drizzled on while the spears are still warm cuts through the smokiness and brightens the entire dish. Adding acid after the spears cool loses 60% of the effect — the heat opens the fibers and lets the brightness absorb.
The Video Reference Library
Want to see it in action? Here are the exact videos we analyzed and combined to build this foolproof recipe translation:
The source video for this recipe. Clean technique demonstration with clear guidance on spear thickness, grate placement, and timing.
🛠️ Core Equipment
- Gas or charcoal grillMedium-high heat with actual grates is non-negotiable for char marks. A grill pan on the stovetop works in a pinch but produces inferior color and no real smoke character. If you're using charcoal, let the coals ash over completely before cooking — raw flame burns the outside before the inside cooks.
- Long tongsYou need to flip individual spears quickly and precisely. Short tongs put your hands over the heat source. A 12-inch or 16-inch pair gives you control without risk.
- Large mixing bowlProperly coating every spear requires room to toss. A shallow bowl means half the seasoning ends up on the counter. A deep, wide bowl lets you toss with confidence and ensures even oil coverage on every surface.
Perfect Grilled Asparagus (Stop Overcooking It)
🛒 Ingredients
- ✦1.5 pounds fresh asparagus spears, medium thickness
- ✦3 tablespoons extra virgin olive oil
- ✦4 cloves garlic, minced
- ✦1 teaspoon sea salt
- ✦1/2 teaspoon freshly ground black pepper
- ✦1/2 teaspoon smoked paprika
- ✦2 tablespoons fresh lemon juice
- ✦1 tablespoon balsamic vinegar
- ✦1/4 teaspoon red pepper flakes
- ✦2 tablespoons grated Pecorino Romano cheese
- ✦1 tablespoon fresh thyme leaves, chopped
- ✦1 tablespoon fresh rosemary leaves, chopped
👨🍳 Instructions
01Step 1
Rinse the asparagus spears under cool running water, then pat completely dry with paper towels.
02Step 2
Trim the woody ends by bending each spear gently until it snaps naturally, typically about 2 inches from the base.
03Step 3
Place the trimmed asparagus in a large mixing bowl. Drizzle with olive oil and add the minced garlic, sea salt, black pepper, smoked paprika, and red pepper flakes.
04Step 4
Toss gently until every spear is evenly coated with the oil and seasoning mixture.
05Step 5
Preheat your grill to medium-high heat for at least 5 minutes until the grates are hot and clean.
06Step 6
Arrange the asparagus spears perpendicular to the grill grates in a single layer with space between each spear.
07Step 7
Grill for 3 to 4 minutes on the first side until light char marks appear.
08Step 8
Using tongs, carefully flip each spear and grill for another 2 to 3 minutes until tender and lightly charred all over.
09Step 9
Transfer the grilled asparagus to a serving platter immediately.
10Step 10
While the asparagus is still hot, drizzle the fresh lemon juice and balsamic vinegar over the spears.
11Step 11
Sprinkle the chopped fresh thyme and rosemary evenly across the top, followed by the grated Pecorino Romano.
12Step 12
Serve immediately while warm.
Nutrition Per Serving
Estimates based on standard preparation. Adjustments alter macros.
🔄 Substitutions
Instead of Extra virgin olive oil...
Use Avocado oil
Higher smoke point makes it more forgiving on a very hot grill. Neutral flavor — you lose some of the fruity olive oil character but nothing breaks.
Instead of Pecorino Romano...
Use Nutritional yeast
Vegan-friendly and adds similar savory umami depth. Use 1.5 tablespoons — it's less concentrated than hard cheese.
Instead of Balsamic vinegar...
Use Red wine vinegar or apple cider vinegar
Red wine vinegar is sharper and drier. Apple cider vinegar adds subtle fruity sweetness. Both work — balsamic just brings more body and natural sweetness.
Instead of Fresh thyme and rosemary...
Use Fresh oregano or marjoram
Oregano is more robust and slightly peppery. Marjoram is milder and sweeter. Either maintains the Mediterranean herb character without disrupting the dish.
🧊 Storage & Reheating
In the Fridge
Store in an airtight container for up to 3 days. The asparagus softens as it sits — it won't be crisp the next day, but it's still excellent chopped into salads or eggs.
In the Freezer
Not recommended. Asparagus loses its texture completely when frozen after cooking. Grill fresh.
Reheating Rules
Reheat in a dry skillet over medium-high heat for 2-3 minutes to restore some surface texture. Microwave turns it limp — avoid.
❓ Frequently Asked Questions
How do I know when grilled asparagus is done?
Press a spear gently with tongs. It should yield slightly but hold its shape — not snap and not collapse. Color should be bright green with visible char marks. If it's olive green and floppy, you've gone too far.
Do I need to blanch asparagus before grilling?
No. Blanching before grilling is for very thick spears (thumb-width or larger) that need a head start. Medium spears go straight on the grill. Blanching medium or thin spears before grilling produces mushy results.
Why does my asparagus taste bitter?
Two likely causes: the woody ends weren't fully trimmed, or the asparagus was overcooked past the point where natural sugars convert to bitter compounds. Trim aggressively and pull the spears while they're still bright green.
Can I make this on a grill pan instead of an outdoor grill?
Yes. Use a cast iron grill pan over high heat, preheated for at least 3 minutes. You'll get grill marks and good char, though you'll miss the smokiness from open grates. Everything else in the recipe applies identically.
How far ahead can I prep the asparagus?
You can trim and coat with oil and seasonings up to 2 hours before grilling. Don't add the lemon juice before cooking — the acid will begin breaking down the surface and you'll lose the char potential. Add acid only after the grill.
What proteins pair best with grilled asparagus?
Grilled salmon is the classic pairing — the fatty richness of the fish contrasts the vegetable's lean brightness. Chicken thighs, seared steak, and halibut all work. Asparagus is assertive enough to stand next to bold proteins without disappearing.

The Science of
Perfect Grilled Asparagus (Stop Overcooking It)
We turned everything on this page into a beautiful, flour-proof PDF cheat sheet. Print it out, stick it to your fridge, and never mess up your perfect grilled asparagus (stop overcooking it) again.
*We'll email you the high-res PDF instantly. No spam, just perfectly cooked meals.
AlmostChefs Editorial Team
We translate the internet's most popular cooking videos into foolproof, beginner-friendly written recipes. We analyze multiple methods, test them in our kitchen, and engineer a single "Master Recipe" that gives you the best possible result with the least possible stress.