Homemade Granola (Stop Buying the Cardboard Box Version)
A crunchy, golden-toasted blend of oats, nuts, seeds, and dried fruit that takes 35 minutes and makes two weeks of breakfast disappear. We stripped out every unnecessary step and found the three variables that actually control whether your granola clusters or crumbles.
“Store-bought granola is mostly sugar, seed oil, and air. The ingredient list reads fine until you notice that the "nuts and seeds" are listed after the fourth form of sugar. Making it yourself takes 35 minutes and costs less per serving. The catch: most homemade versions come out either burnt on the edges and raw in the middle, or so dry they taste like cardboard. The difference between those and a genuinely good batch comes down to oven temperature, how often you stir, and when you add the dried fruit.”
Why This Recipe Works
Granola is one of three recipes every home cook should have permanently memorized — the other two being a vinaigrette and a soft-scrambled egg. It costs less than the box version, tastes better than the box version, and takes less than an hour start to finish. The reasons most people don't make it themselves are mythology: they think it's complicated, or time-consuming, or prone to failure. It isn't any of those things if you understand the three variables that actually control the outcome.
Temperature Is the Entire Game
Three hundred twenty-five degrees is not a suggestion. It's the thermal ceiling above which the maple syrup and honey caramelize too aggressively, the edge oats scorch before the interior dries out, and you end up with a pan that's half-burnt and half-raw. Granola is a low-and-slow operation — it needs sustained, moderate heat to shed moisture evenly across the entire surface.
Most home ovens run hot by 10 to 25 degrees. If you've never tested yours with an oven thermometer, this is the most likely explanation for every batch that came out overdone. A probe thermometer with an oven clip costs less than three boxes of store-bought granola and solves the problem permanently.
The Stir Schedule Is Not Negotiable
Radiant heat from the oven walls concentrates at the outer edges of the baking pan. The inch of granola around the perimeter toasts faster than the center — sometimes two or three minutes faster, which is the difference between golden and black at 325°F. Stirring every 7 minutes rotates the outer material inward and exposes the pale interior to the edges where the heat is most intense. Skip a stir and you'll spend the rest of the bake trying to rescue the border while the middle stays underdone.
Two rimmed baking sheets are mandatory, not optional. Crowding everything onto one pan creates a layer thick enough to trap steam — and steam is what turns granola into mush. Spread thin, the moisture escapes. Piled deep, it recirculates and softens the oats from the inside out.
Clusters Are a Cooling Phenomenon
Here is the single most misunderstood fact about granola: it is not crunchy when it comes out of the oven. The honey and maple syrup are completely liquid at baking temperature. The granola looks and feels soft. This is correct. The crunch develops in the 10 minutes after the pan leaves the oven, as the binders cool and recrystallize around the oats and nuts.
Every cluster you want — big, satisfying, break-apart chunks — forms during that cooling window. Pressing the granola flat with a spatula before baking determines the maximum cluster size. Leaving it completely undisturbed while it cools allows the binders to set in continuous sheets. Stirring it while it's still hot breaks those sheets into crumble before they ever get a chance to harden.
Dried fruit goes in after cooling. Always. Cranberries and blueberries at 325°F for 25 minutes become shriveled, bitter carbon pellets — there is no scenario where that ends well.
The Fat and Sweetener Ratio
The recipe uses both maple syrup and honey because they behave differently. Maple syrup is thinner and more fluid — it distributes easily and provides even coverage. Honey is thicker and stickier — it's what creates binding tension between the oats. Together they produce granola that coats evenly and clusters firmly. Using only maple syrup gives you loose, crumbly granola. Using only honey gives you dense, slightly sticky clumps.
The olive oil's job is to keep the oats from tasting dry after baking and to help the binders adhere to the surface of each nut and seed. It also lowers the overall sweetness of the mixture, which is why this granola tastes more like toasted grain than breakfast candy.
One batch. Two weeks of breakfast. Thirty-five minutes. The math is too obvious to argue with.
Where Beginners Mess This Up
Before we start, read this. These are the 4 reasons your homemade granola (stop buying the cardboard box version) will fail:
- 1
Baking at too high a temperature: Granola burns at the edges and stays raw in the center when the oven runs hot. 325°F is the ceiling. The oats and nuts need slow, even heat to toast without scorching. At 350°F or above, the honey and maple syrup caramelize too fast and the outside burns before the interior dries out.
- 2
Not stirring on a schedule: Every 7 minutes matters. The outer edges of the pan receive more radiant heat from the oven walls and toast faster than the center. Skipping a stir means the border burns while the middle stays pale and underdone. Set a timer. Stir on the clock.
- 3
Adding dried fruit before baking: Dried cranberries and blueberries turn into shriveled, bitter pellets at 325°F for 25 minutes. They have almost no moisture left to lose — what they lose is their sugars, which char. Add dried fruit only after the granola has cooled completely.
- 4
Expecting clusters straight from the oven: Granola is liquid when it comes out of the oven. The binding — the honey and maple syrup — is fully molten at baking temperature. Do not touch it for at least 10 minutes. As it cools, the sugars recrystallize and lock the oats into clusters. Stirring it hot breaks the clusters before they form.
The Video Reference Library
Want to see it in action? Here are the exact videos we analyzed and combined to build this foolproof recipe translation:
The source video for this recipe's core technique. Covers the low-and-slow oven approach and explains exactly why the cooling stage determines whether you get clusters or crumble.
🛠️ Core Equipment
- Two large rimmed baking sheetsCrowding granola onto one pan creates uneven toasting and steaming instead of crisping. Two pans keep the layer thin enough for heat to circulate and moisture to escape.
- Parchment paperThe honey and maple syrup will fuse permanently to an unlined pan. Parchment prevents sticking and lets you slide the cooled granola off in slabs rather than scraping it piece by piece.
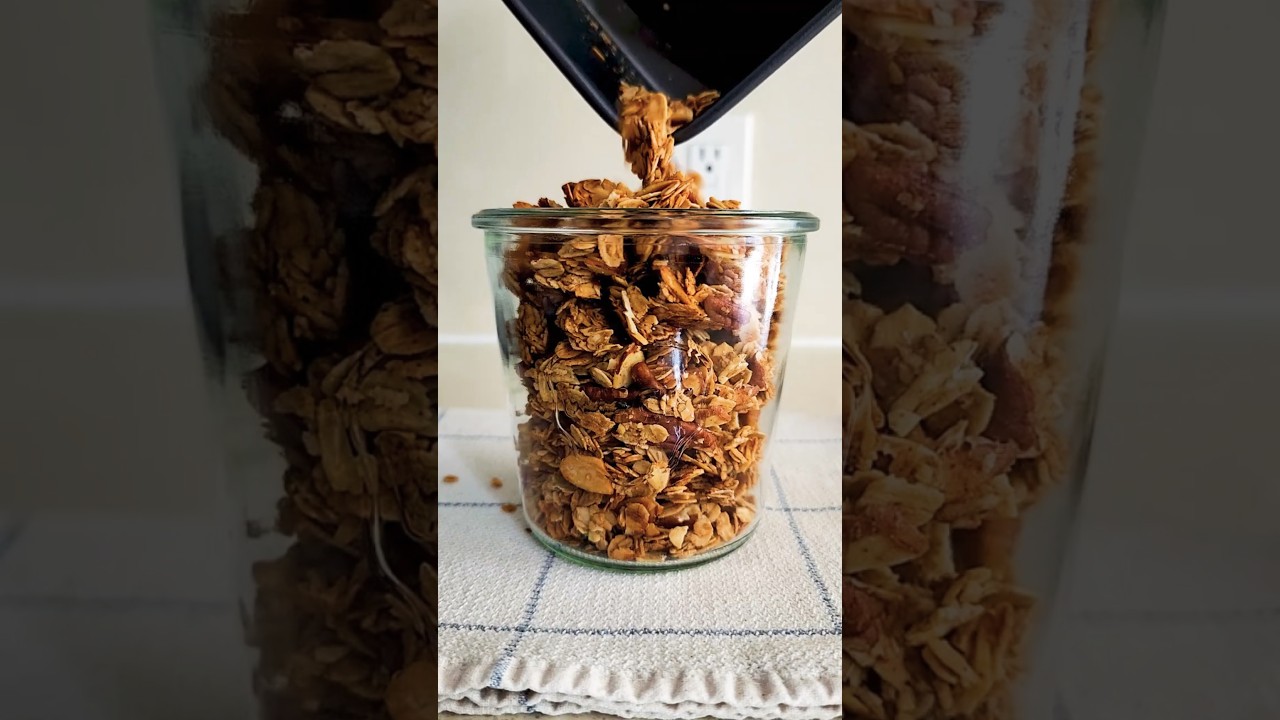
- Large glass storage jarGranola needs an airtight container to stay crisp. Plastic bags let moisture back in and you'll have soft granola within two days. A wide-mouth glass jar also lets you see exactly how much you have left.
- Flat spatulaFor pressing the granola into an even layer before baking and for the periodic stirs. Even pressure means even browning. A wooden spoon rounds and piles — a flat spatula flattens and spreads.
Homemade Granola (Stop Buying the Cardboard Box Version)
🛒 Ingredients
- ✦3 cups rolled oats, old-fashioned
- ✦1 cup raw almonds, coarsely chopped
- ✦3/4 cup raw walnuts, coarsely chopped
- ✦1/2 cup raw sunflower seeds
- ✦1/4 cup raw pumpkin seeds
- ✦1/3 cup pure maple syrup
- ✦3 tablespoons extra virgin olive oil
- ✦2 tablespoons raw honey
- ✦1 1/2 teaspoons vanilla extract
- ✦1 teaspoon ground cinnamon
- ✦1/4 teaspoon sea salt
- ✦1/4 teaspoon ground nutmeg
- ✦3/4 cup unsweetened dried cranberries
- ✦1/2 cup unsweetened dried blueberries
- ✦2 tablespoons unsweetened shredded coconut (optional)
👨🍳 Instructions
01Step 1
Preheat your oven to 325°F and line two large rimmed baking sheets with parchment paper.
02Step 2
Combine the rolled oats, chopped almonds, chopped walnuts, sunflower seeds, and pumpkin seeds in a large mixing bowl.
03Step 3
Whisk together the maple syrup, olive oil, honey, vanilla extract, cinnamon, sea salt, and nutmeg in a small bowl until completely blended.
04Step 4
Pour the liquid mixture over the oat and nut mixture. Stir with a wooden spoon for about 2 minutes until every oat and nut piece is evenly coated — no dry patches.
05Step 5
Divide the mixture evenly between the two prepared baking sheets. Spread into a single, even layer and press down firmly with the back of a flat spatula.
06Step 6
Bake for 20 to 25 minutes, stirring every 7 minutes to rotate the outer edges inward and ensure even toasting.
07Step 7
Remove from the oven when the oats are light golden brown and smell deeply toasted and nutty. The granola will still look slightly soft — that is correct.
08Step 8
Let the granola cool completely on the baking sheets — at least 10 full minutes. Do not stir, press, or move it during this time.
09Step 9
Once fully cooled and set, transfer to a large airtight glass container. Add the dried cranberries, dried blueberries, and shredded coconut if using. Stir gently to distribute.
10Step 10
Seal tightly and store at room temperature for up to two weeks.
Nutrition Per Serving
Estimates based on standard preparation. Adjustments alter macros.
🔄 Substitutions
Instead of Rolled oats...
Use Steel-cut oats
Creates chunkier texture with a lower glycemic index. Requires an extra 5 minutes of bake time. The clusters are denser and more satisfying.
Instead of Maple syrup and honey...
Use Coconut sugar dissolved in 2 tablespoons warm water, plus 1 tablespoon blackstrap molasses
Lower glycemic impact. Slightly less sweet with more mineral depth. Molasses adds an earthy, almost malty note that works well with walnuts.
Instead of Extra virgin olive oil...
Use Melted coconut oil or ghee
Coconut oil produces slightly sweeter-tasting granola and crisps a bit faster — watch the oven closely. Ghee adds a rich, nutty dairy note and excellent browning.
Instead of Dried cranberries and blueberries...
Use Unsweetened dried goji berries and tart cherries
Significantly higher antioxidant content, less added sugar. Goji berries are chewier; tart cherries are denser. Both hold up better to humidity than blueberries.
🧊 Storage & Reheating
In the Fridge
Refrigerate in an airtight container for up to one month. Cold storage keeps the oats from going stale in humid climates.
In the Freezer
Freeze in a zip-lock bag for up to 3 months. Spread on a sheet pan at room temperature for 10 minutes before eating — it re-crisps as it comes to temperature.
Reheating Rules
Spread on a baking sheet and toast at 300°F for 5-8 minutes if the granola has softened. It will crisp back up completely as it cools.
❓ Frequently Asked Questions
Why is my granola soft instead of crunchy?
Two possible causes: you didn't bake it long enough, or you didn't let it cool completely undisturbed. The granola crisps as the sugars cool and recrystallize — stirring while hot breaks that process. If it's already stored and has gone soft, spread it on a baking sheet and re-toast at 300°F for 5-8 minutes.
Why doesn't my granola have clusters?
You need two things: flat compression before baking, and zero movement during cooling. Press the granola into an even layer with a spatula before it goes into the oven. When it comes out, leave it completely alone until it reaches room temperature. The clusters form as the binders cool — disrupting them while they're setting breaks the bonds.
Can I use quick oats instead of old-fashioned rolled oats?
Technically yes, practically no. Quick oats are pre-cut thinner and absorb the liquid binders too fast, turning powdery rather than crisp. Old-fashioned rolled oats keep their structure through the bake and cool into distinct, chewable pieces.
Is olive oil a weird choice for granola?
It's less common than coconut oil, but it works well. The flavor is mild enough at 325°F that you won't taste it as distinctly olive. It produces a clean, lightly savory background note that keeps the granola from tasting overly sweet. Coconut oil is slightly sweeter and more neutral — use it if you prefer.
How do I keep granola fresh longer than two weeks?
Three strategies: use an airtight glass container (not plastic), add a food-safe silica packet to absorb moisture, or store in the refrigerator. Humidity is the enemy of crunch. In dry climates, room-temperature storage in a sealed jar keeps granola crisp for three weeks easily.
Can I add chocolate chips?
Yes, same rule as dried fruit — add them after the granola is fully cooled. Chocolate chips baked into granola melt, coat the oats in a thin film, and burn. Added cold, they stay intact and provide bursts of chocolate in each serving.

The Science of
Homemade Granola (Stop Buying the Cardboard Box Version)
We turned everything on this page into a beautiful, flour-proof PDF cheat sheet. Print it out, stick it to your fridge, and never mess up your homemade granola (stop buying the cardboard box version) again.
*We'll email you the high-res PDF instantly. No spam, just perfectly cooked meals.
AlmostChefs Editorial Team
We translate the internet's most popular cooking videos into foolproof, beginner-friendly written recipes. We analyze multiple methods, test them in our kitchen, and engineer a single "Master Recipe" that gives you the best possible result with the least possible stress.