Homemade Granola Bars (Better Than Anything at the Store)
Chewy, satisfying granola bars made with real oats, nuts, seeds, and natural sweeteners — no preservatives, no mystery additives. We broke down the technique so your bars actually hold together and don't crumble the moment you pick one up.
“Store-bought granola bars are 40% sugar, 30% marketing, and 30% ingredients you can't pronounce. Making them at home takes 15 minutes of actual work. The reason most homemade attempts fall apart — literally — comes down to one step almost everyone rushes: the pressing. A loose pack means crumbly bars. A firm, dense pack means bars that survive your bag, your commute, and your impatient hands.”
Why This Recipe Works
Granola bars have a reputation as health food. Most store-bought versions are candy bars with a PR problem — 28 grams of sugar, palm oil, and a line of ingredients that reads like a chemistry exam. Making them at home costs less, takes less than an hour, and produces something that actually tastes like food. The reason most people don't bother is that their first batch crumbled and they blamed the recipe. It wasn't the recipe.
The Binder Matrix
Every granola bar is held together by a binder — a sticky, fat-containing matrix that coats each oat and nut and, when set, acts as edible glue. In this recipe, the binder is a three-part system: honey provides the sticky sucrose network, almond butter contributes protein and fat that add structural cohesion, and coconut oil fills in the gaps with saturated fat that firms up at room temperature.
Each component has a specific job. Remove or significantly reduce any one of them and the matrix fails. This is why "healthy swaps" that cut the honey by half produce bars that disintegrate on contact. You can customize the mix-ins freely — that's just flavor. The binder ratios are load-bearing.
Why Pressing Is Everything
The pressing step is where home bakers lose the plot. Most people spoon the mixture into the pan, spread it around, and call it done. What they've created is a loose aggregate of oats and nuts held together by an insufficient amount of contact surface. When the binder sets, it connects only the points where ingredients are touching — and loosely packed mixture has very few contact points.
Press firmly with the back of a measuring cup until the mixture resists and feels dense. You are not compacting — you are creating a continuous solid rather than a pile of individual pieces. The difference in bar integrity between a properly pressed slab and a loosely spread one is the difference between a bar you can eat one-handed over a keyboard and a bar that requires a bowl and a spoon.
The Bake Window
The goal is a bar that's chewy, not crunchy — which means pulling the pan while the center still looks underdone. The edges set first because they're in contact with the metal. The center continues cooking from residual heat after the pan leaves the oven. If the center looks done in the oven, the edges are already overdone and you'll end up with something closer to a granola cracker.
Eighteen to twenty-two minutes at 350°F is the window, but your oven is not a laboratory. Check at 18 minutes. Light golden on the edges, slightly soft in the center. That's the target. The bars will firm up entirely as they cool on the counter.
The Cooling Requirement
This is non-negotiable. The honey binder needs to cool and set before you apply any cutting force. Warm bars flex under a knife — the structure that hasn't fully solidified yet collapses rather than shears cleanly. Give the slab a minimum of 15 minutes at room temperature before transferring to a cutting board. If you have the patience, 30 minutes produces noticeably cleaner cuts.
The other cooling benefit: texture. Granola bars that come out of the oven seem softer than expected. That's correct. As they cool, the saturated fat in the coconut oil solidifies and the sugar matrix crystallizes slightly, transforming the slab from a soft, yielding mass into a firm, sliceable bar with real structural integrity.
The Mix-In Philosophy
The ratio of base (oats) to mix-ins (nuts, seeds, dried fruit) matters. Too many mix-ins and there isn't enough oat structure to hold the bar together — you get a clump of nuts with some oats mixed in. Too few and the bar is bland and dense. The recipe lands at roughly 60% oat base to 40% mix-ins by volume, which produces a bar with consistent texture and identifiable pockets of crunch and chew.
Customize the mix-ins by category: one nut, one seed, one dried fruit. Swap within categories without changing volumes and the structure stays intact. Change the volumes and you're on your own.
Where Beginners Mess This Up
Before we start, read this. These are the 4 reasons your homemade granola bars (better than anything at the store) will fail:
- 1
Not pressing the mixture firmly enough: This is the single reason homemade granola bars crumble. The mixture needs to be compressed into a dense, uniform slab — not just spooned into the pan. Use the back of a measuring cup and lean into it. If it feels like you're over-pressing, you're probably pressing correctly.
- 2
Cutting before fully cooled: The bars are held together by the honey and nut butter binder, which needs to set as it cools. Cutting into warm bars collapses the structure. Wait the full 15 minutes at minimum — 30 is better. The bars that fall apart are almost always the ones cut too soon.
- 3
Overbaking until the center is firm: The center should still look slightly underdone when you pull the pan. It continues to set as it cools. If the center is firm in the oven, the edges are already overdone and the bars will be dry and brittle rather than chewy.
- 4
Skimping on the binder ratio: The honey, nut butter, and coconut oil work together as a glue matrix. If you reduce any of them to save calories, the bars won't hold. Follow the ratios exactly on the first batch, then adjust from a base that you know works.
The Video Reference Library
Want to see it in action? Here are the exact videos we analyzed and combined to build this foolproof recipe translation:
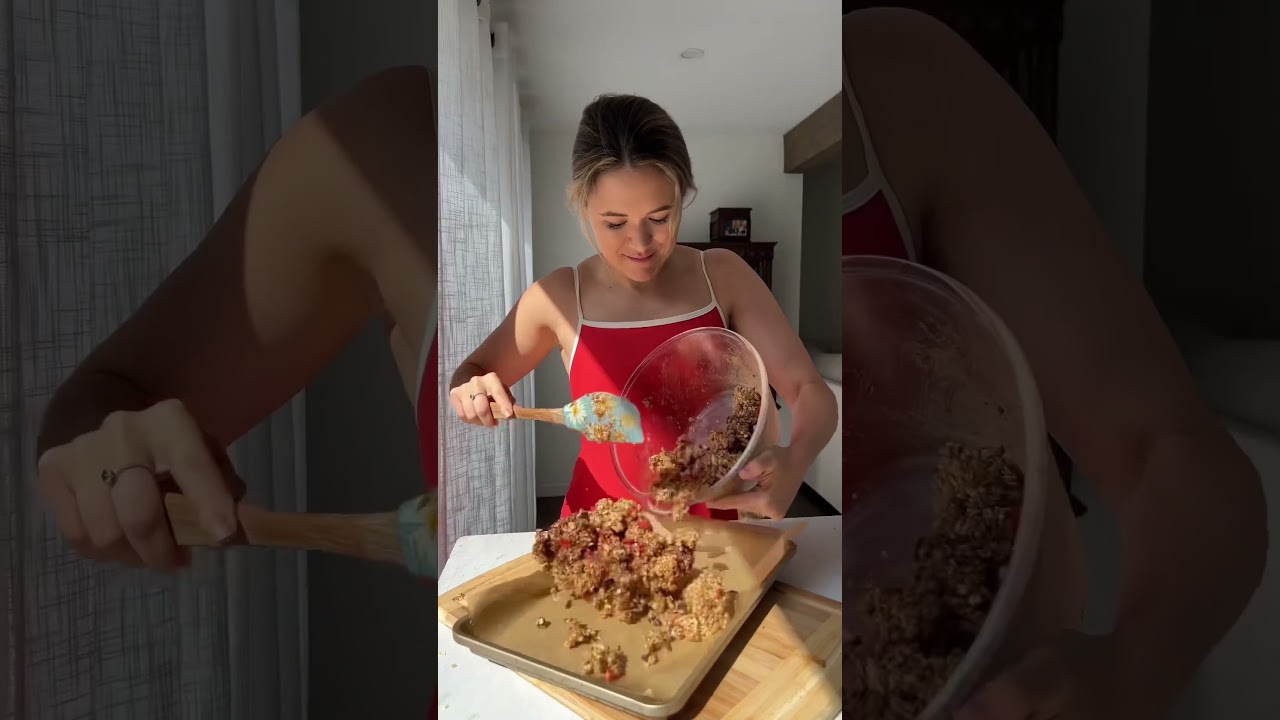
The source video for this recipe — clear technique for the pressing step and bake timing. Watch specifically for how firmly the mixture gets packed before going into the oven.
🛠️ Core Equipment
- 8x8-inch baking panThe correct pan size gives you bars that are approximately 3/4-inch thick — thick enough to be satisfying, thin enough to bake through evenly. A 9x13 pan spreads the mixture too thin and produces fragile wafers.
- Parchment paperThe overhanging edges act as handles to lift the entire slab out in one piece before cutting. Without parchment, you're excavating bars with a spatula and losing half of them.
- Sturdy mixing bowl and spatulaThe mixture becomes very thick and dense as you fold in the dry ingredients. A thin bowl slides around and a weak spatula bends. Use your largest, heaviest bowl and a stiff silicone or wooden spatula.
- Sharp chef's knifeA dull knife drags through the bars and cracks them instead of slicing cleanly. Wipe the blade between cuts to prevent sticky buildup that tears the bar edges.
Homemade Granola Bars (Better Than Anything at the Store)
🛒 Ingredients
- ✦2 cups old-fashioned rolled oats
- ✦1/2 cup natural almond butter
- ✦1/3 cup honey
- ✦1/4 cup coconut oil, melted
- ✦1/2 cup raw almonds, roughly chopped
- ✦1/3 cup unsweetened coconut flakes
- ✦1/4 cup raw sunflower seeds
- ✦1/4 cup raw pumpkin seeds
- ✦1/4 cup unsweetened dried cranberries, chopped
- ✦1/4 cup raisins
- ✦2 tablespoons ground flaxseed
- ✦1 teaspoon vanilla extract
- ✦1/2 teaspoon sea salt
- ✦1/4 teaspoon ground cinnamon
👨🍳 Instructions
01Step 1
Preheat your oven to 350°F and line an 8x8-inch baking pan with parchment paper, allowing the edges to overhang for easy removal.
02Step 2
Combine the melted coconut oil and almond butter in a large mixing bowl, stirring until smooth and fully incorporated.
03Step 3
Add the honey and vanilla extract to the wet mixture and stir vigorously for about 1 minute until the mixture is thick and glossy.
04Step 4
Fold in the rolled oats, chopped almonds, coconut flakes, sunflower seeds, dried cranberries, and raisins using a sturdy spatula.
05Step 5
Add the ground flaxseed, pumpkin seeds, sea salt, and cinnamon. Mix thoroughly until all dry ingredients are evenly distributed.
06Step 6
Transfer the mixture to the prepared baking pan. Press it firmly and evenly into a solid, compact layer approximately 3/4-inch thick using the back of a measuring cup.
07Step 7
Bake for 18 to 22 minutes until the edges are light golden brown and the center appears set but still slightly soft.
08Step 8
Remove from the oven and let cool at room temperature for at least 15 minutes without disturbing the pan.
09Step 9
Lift the entire granola slab out of the pan using the parchment paper overhang and transfer to a cutting board.
10Step 10
Cut into 12 equal bars using a sharp knife, wiping the blade clean between cuts for clean edges.
11Step 11
Store in an airtight container at room temperature for up to 10 days, or refrigerate for extended freshness.
Nutrition Per Serving
Estimates based on standard preparation. Adjustments alter macros.
🔄 Substitutions
Instead of Honey...
Use Pure maple syrup or brown rice syrup
Similar binding properties. Maple syrup adds a slightly deeper, more complex sweetness. Brown rice syrup is less sweet overall and creates a firmer bar.
Instead of Almond butter...
Use Tahini or sunflower seed butter
Both work for nut-free versions. Tahini adds an earthy, slightly bitter note that pairs well with dried fruit. Sunflower butter is milder and nearly neutral in flavor.
Instead of Coconut oil...
Use Ghee or avocado oil
Ghee adds buttery richness. Avocado oil produces a lighter bar. Both maintain moisture without affecting the binder structure.
Instead of Dried cranberries and raisins...
Use Chopped dates or dried figs
Richer, stickier sweetness with more fiber. Dates also add extra binding power, which can make bars that hold together even better.
🧊 Storage & Reheating
In the Fridge
Store in an airtight container for up to 2 weeks. The bars firm up in the cold, which many people prefer over room temperature texture.
In the Freezer
Freeze individually wrapped bars for up to 3 months. Wrap in parchment first, then place in a zip-lock bag to prevent freezer burn.
Reheating Rules
These bars don't need reheating. Thaw frozen bars at room temperature for 1-2 hours, or overnight in the fridge.
❓ Frequently Asked Questions
Why do my homemade granola bars always crumble?
Almost certainly the pressing step. The mixture needs to be compressed into a dense, uniform slab — not just spread in the pan. Use the back of a measuring cup and apply real force. The second most common cause is cutting before the bars are fully cooled, which collapses the structure before the binder sets.
Can I make these without baking?
Yes, but they'll be softer and more prone to melting in warm conditions. For no-bake bars, skip the oven and refrigerate the pressed slab for at least 2 hours before cutting. Store them in the fridge rather than at room temperature.
Can I reduce the honey to make them less sweet?
You can reduce by up to 1 tablespoon without affecting structure. Beyond that, you're removing binder and the bars will fall apart. If you want less sweetness, use unsweetened mix-ins — skip the raisins and use more seeds instead.
Do I have to use rolled oats, or can I use quick oats?
Rolled oats are strongly preferred. Quick oats are pre-cooked and cut smaller — they absorb the binder faster and create a denser, less textured bar that can turn gummy. Old-fashioned rolled oats give you the chew and structure that makes these worth making.
Why are my bars too hard and dry?
You either overbaked them or cut them before they cooled and then let them sit exposed to air. Pull the pan when the center still looks slightly underdone — it sets as it cools. Store in an airtight container immediately after cutting.
Can I add chocolate chips?
Yes, but add them after the mixture has cooled slightly — hot binder melts chips and turns everything brown. Stir them in just before pressing into the pan. Dark chocolate chips (70%+) work best because they don't add as much sugar and hold their shape better during baking.

The Science of
Homemade Granola Bars (Better Than Anything at the Store)
We turned everything on this page into a beautiful, flour-proof PDF cheat sheet. Print it out, stick it to your fridge, and never mess up your homemade granola bars (better than anything at the store) again.
*We'll email you the high-res PDF instantly. No spam, just perfectly cooked meals.
AlmostChefs Editorial Team
We translate the internet's most popular cooking videos into foolproof, beginner-friendly written recipes. We analyze multiple methods, test them in our kitchen, and engineer a single "Master Recipe" that gives you the best possible result with the least possible stress.