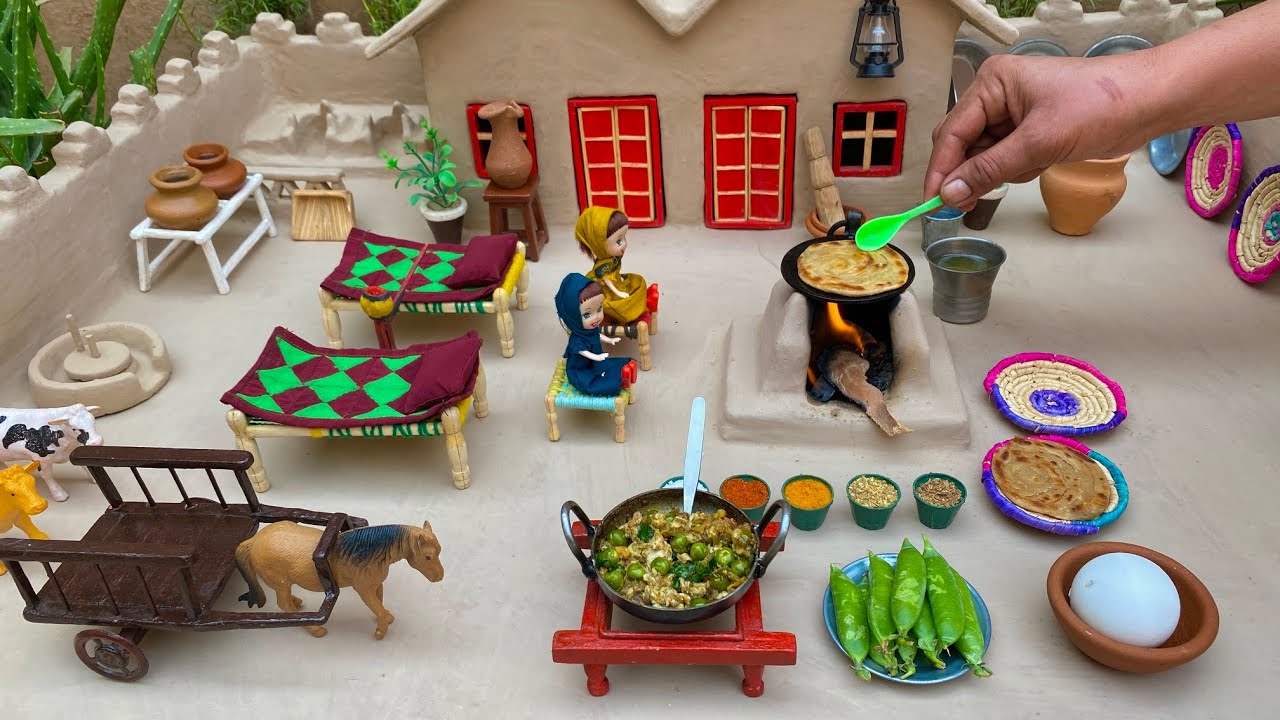
Egg Matar Masala (The 30-Minute Weeknight Curry That Beats Takeout)
Hard-boiled eggs and sweet green peas simmered in a deeply spiced tomato-onion masala. We broke down the most-watched YouTube methods to build one foolproof technique that gets the gravy thick, glossy, and layered in flavor without hours of babysitting the stove.
“Egg Matar Masala is what Indian home cooking looks like when it's firing on all cylinders — fast, cheap, and devastatingly flavorful. The problem is most people make it watery, under-spiced, or with eggs so overcooked they have that gray sulfur ring around the yolk. All three failures trace back to the same root cause: rushing the masala base. We tested every major YouTube method to find the approach that gets the gravy thick, the eggs perfect, and the peas bright green every single time.”
Why This Recipe Works
Egg Matar Masala sits in a category of Indian cooking that gets chronically underestimated: the weeknight curry. No overnight marinade. No specialty equipment. No exotic ingredients you can only find at one specific store. Just eggs, peas, tomatoes, and a spice rack — assembled in a specific order that transforms them into something that tastes like it took four times longer than it did. The reason most home versions fall flat is not the ingredient list. It is a fundamental misunderstanding of what the masala base actually needs to become before anything else goes into the pan.
The Bhunai Imperative
There is one technique that governs every North Indian curry, and it is called bhunai — the process of cooking the tomato-onion paste over sustained heat until the oil physically separates from the solids and pools visibly at the pan's edge. It sounds simple. It is not optional. Before this separation happens, you have a wet, acidic tomato-onion slurry that tastes sour and raw regardless of how many spices you add to it. After the separation, you have a concentrated, caramelized paste where the sugars have deepened, the acidity has mellowed, and the fat has absorbed the volatile aromatic compounds from the spices. These are two completely different substances, and only one of them produces good curry.
The test is visual and auditory. Watch the edges of the pan for oil pooling away from the masala paste. Listen for the sizzling sound to change — wet, bubbling moisture gives way to a drier, more aggressive fry once the water has cooked off. Smell the shift from sharp tomato acidity to something sweeter and more rounded. Most home cooks pull the masala at the first sign of thickening. The correct move is to wait another four minutes past the point where it looks done.
A heavy-bottomed kadai or cast iron skillet is the right tool here. Thin pans create hot spots that scorch the tomato solids against the bottom while the center stays underdone and wet. You need even heat distributed across the entire base to cook off the moisture uniformly.
The Egg Treatment
The eggs in this dish are doing structural work. They need to hold together during simmering, absorb the masala from the outside in, and provide a textural contrast between firm white and rich yolk. Boiled eggs dropped directly into sauce accomplish none of this — their smooth, slick exterior acts as a repellent, keeping the curry on the surface rather than letting it penetrate.
Scoring and shallow-frying solves this in under three minutes. Four shallow knife cuts across the egg expose more surface area for sauce absorption. Two minutes in hot oil creates micro-blisters along the exterior — a lightly roughened skin that grabs the masala and holds it during the final simmer. The spider strainer gives you control over moving eggs in and out of hot oil quickly, which matters because you want a blister, not a crust.
The Pea Timing Window
Green peas have an extremely narrow window between raw-sweet-bright and starchy-dull-gray. That window is approximately 5-7 minutes of gentle heat. Add them at the start of cooking alongside the onions and they will be mush before the masala is even built. Add them in the last 5-7 minutes and they hit the table exactly right — just tender, vivid green, and sweet enough to balance the heat of the masala.
Frozen peas are actually preferable to fresh for this dish. They have been blanched before freezing, which means they need even less cooking time — 3-4 minutes — and their consistent sweetness is more reliable than fresh peas, which vary dramatically in sugar content depending on how long they've been sitting.
The Spice Sequence
Ground spices in Indian cooking are divided into two categories: base spices that need sustained heat to bloom (coriander, cumin, turmeric, chili), and finishing spices that are destroyed by prolonged heat (garam masala). The base spices go in after the oil separates from the masala — at this point they are frying in fat, not steaming in moisture, which produces a completely different flavor. Garam masala goes in with the heat turned off at the very end. These are not arbitrary conventions. They exist because each spice's volatile aromatic compounds have different heat tolerances, and the sequence is designed to coax the maximum flavor from each one.
Every element in Egg Matar Masala is solving a problem. The shallow fry solves the slick egg problem. The bhunai solves the sour gravy problem. The late peas solve the gray pea problem. The spice sequence solves the flat curry problem. Follow the architecture and this becomes one of the most reliable weeknight dinners in your rotation.
Where Beginners Mess This Up
Before we start, read this. These are the 4 reasons your egg matar masala (the 30-minute weeknight curry that beats takeout) will fail:
- 1
Skipping the shallow fry on the eggs: Boiled eggs dropped directly into masala have a rubbery, slippery exterior that never bonds with the sauce. A 2-minute shallow fry in hot oil creates a lightly blistered surface that soaks up the masala during simmering. This single step is the difference between eggs that taste like they belong in the curry versus eggs that taste like they were added as an afterthought.
- 2
Pulling the masala off heat too early: The tomato-onion paste must cook until the oil visibly separates and pools around the edges of the pan — this is called 'bhunai' and it signals that the raw moisture has cooked off, the sugars have caramelized, and the spices have bloomed fully in the fat. Pulling early gives you sour, thin gravy that tastes of uncooked tomato. You need the patience to wait for the oil to break.
- 3
Adding peas too early: Green peas need only 5-7 minutes of heat. Add them at the start and they turn from bright, sweet, and slightly firm into dull, starchy, and mushy. They go in near the end of cooking, not the beginning.
- 4
Under-salting at every stage: Indian masala cooking requires seasoning at multiple points — when cooking the onions, when adding tomatoes, and again at the final simmer. Salt at a single point at the end produces flat-tasting curry where the spices and the salt never integrate. Season in layers.
The Video Reference Library
Want to see it in action? Here are the exact videos we analyzed and combined to build this foolproof recipe translation:
The source video for this recipe. Covers the bhunai technique clearly and shows exactly what properly separated masala oil looks like. Watch for the color change in the tomato paste around the 8-minute mark.
Focuses on the shallow-frying technique for eggs and the importance of getting golden blistered skin before adding to the gravy. Good reference for first-timers nervous about the frying step.
A methodical breakdown of the spice layering sequence — when to add whole spices versus ground, and why the order matters. Useful supplement if your masala tastes flat.
🛠️ Core Equipment
- Heavy-bottomed skillet or kadaiThe masala base requires sustained high heat to bhunai properly. A thin pan creates hot spots that scorch the tomatoes on the bottom while leaving the center underdone. A wide, heavy kadai or cast iron skillet gives you even heat and enough surface area for the moisture to cook off quickly.
- Immersion blender or countertop blenderOptional but produces a superior gravy. Blending half the masala base before adding eggs creates a silky, restaurant-style texture that coats the eggs evenly. Leaving it chunky is fine for a more rustic result.
- Small saucepan for boiling eggsControl matters here. A dedicated small pot with just enough water to cover the eggs cooks them more evenly than a large pot. You are aiming for fully set whites and completely cooked — but not gray — yolks.
- Spider strainer or slotted spoonFor moving the boiled eggs into and out of the oil quickly. Speed matters during the shallow fry — you want a light blister, not a full crust.
Egg Matar Masala (The 30-Minute Weeknight Curry That Beats Takeout)
🛒 Ingredients
- ✦6 large eggs
- ✦1 cup frozen green peas (or fresh shelled peas)
- ✦3 tablespoons neutral oil, divided
- ✦2 medium yellow onions, finely chopped
- ✦3 medium ripe tomatoes, finely chopped (or 1 cup canned crushed tomatoes)
- ✦1.5 tablespoons ginger-garlic paste
- ✦2 green Thai chilies, slit lengthwise
- ✦1 teaspoon cumin seeds
- ✦1 bay leaf
- ✦1 teaspoon ground coriander
- ✦1/2 teaspoon ground cumin
- ✦1/2 teaspoon turmeric powder
- ✦1 teaspoon Kashmiri red chili powder
- ✦1/2 teaspoon garam masala
- ✦1/4 teaspoon black pepper
- ✦1/2 cup water (adjust for gravy consistency)
- ✦2 tablespoons fresh cilantro leaves, chopped
- ✦1 teaspoon fresh lemon juice
- ✦Sea salt to taste
👨🍳 Instructions
01Step 1
Place eggs in a small saucepan, cover with cold water by 1 inch, and bring to a boil. Once boiling, cover and remove from heat. Let sit for exactly 10 minutes, then transfer to an ice bath for 5 minutes. Peel and set aside.
02Step 2
Score each peeled egg with 4-5 shallow cuts using a knife. This is not decorative — the cuts allow the masala to penetrate the egg surface during simmering.
03Step 3
Heat 1.5 tablespoons oil in a heavy-bottomed skillet over medium-high heat. Add the eggs and shallow-fry for 2-3 minutes, turning gently, until lightly golden and blistered on all sides. Remove and set aside.
04Step 4
In the same pan, add remaining oil. Add cumin seeds and bay leaf and let them splutter for 30 seconds. Add the chopped onions and a generous pinch of salt. Cook over medium-high heat, stirring frequently, for 10-12 minutes until deep golden brown.
05Step 5
Add ginger-garlic paste and green chilies. Stir continuously for 2 minutes until the raw garlic smell disappears and the paste turns slightly golden.
06Step 6
Add the chopped tomatoes. Cook over medium-high heat for 8-10 minutes, stirring and pressing with a spatula, until the tomatoes completely break down and the oil visibly separates and pools at the edges of the masala.
07Step 7
Reduce heat to medium. Add ground coriander, ground cumin, turmeric, Kashmiri chili powder, and black pepper. Stir for 1 minute to bloom the spices in the oil.
08Step 8
Add water and stir to combine. Bring to a gentle simmer. Taste for salt and adjust.
09Step 9
Add the shallow-fried eggs. Spoon the masala over them gently to coat. Simmer on low heat for 5 minutes to allow the eggs to absorb flavor.
10Step 10
Add the green peas. Stir gently and cook for 5-7 minutes until peas are just tender but still bright green.
11Step 11
Add garam masala and lemon juice. Stir once and turn off heat.
12Step 12
Garnish with fresh cilantro. Serve hot with basmati rice, roti, or naan.
Nutrition Per Serving
Estimates based on standard preparation. Adjustments alter macros.
🔄 Substitutions
Instead of Green peas...
Use Chickpeas or cubed paneer
Chickpeas add more protein and a heartier texture — use 1 can, drained and rinsed. Paneer should be cubed and lightly fried before adding, same as the eggs.
Instead of Neutral oil...
Use Ghee
Ghee produces a richer, more aromatic base especially when blooming the whole spices at the start. Adds a nutty depth that neutral oil cannot replicate.
Instead of Fresh tomatoes...
Use 1 cup canned crushed tomatoes
More consistent flavor and better color year-round. Reduce by one-third before adding spices since canned tomatoes have higher moisture content.
Instead of Kashmiri chili powder...
Use Sweet paprika plus a pinch of cayenne
Use 3/4 teaspoon sweet paprika plus 1/8 teaspoon cayenne to approximate the color and mild heat of Kashmiri chili. Not identical but functional.
🧊 Storage & Reheating
In the Fridge
Store in an airtight container for up to 3 days. The flavor improves significantly after the first 24 hours as the eggs absorb the masala.
In the Freezer
Freeze without the eggs — eggs become rubbery after freezing and thawing. Freeze the masala base separately for up to 2 months, then cook fresh eggs and add when reheating.
Reheating Rules
Reheat on the stovetop over low heat with a splash of water to loosen the gravy. Stir gently to avoid breaking the eggs. Microwave works in a pinch but dries the eggs out.
❓ Frequently Asked Questions
Why do I need to fry the eggs before adding them to the gravy?
Boiled eggs have a slick, smooth surface that repels sauce. The shallow fry creates micro-blisters and a lightly textured skin that absorbs masala during simmering. It also adds a subtle toasted flavor to the egg exterior that plain boiled eggs completely lack.
My gravy turned out too thin. How do I fix it?
You either pulled the masala before the oil separated, or you added too much water. To rescue it: remove the eggs and peas, increase heat to medium-high, and simmer the gravy uncovered for 5-7 minutes until it reduces and thickens. Return the eggs and peas and finish.
Can I use scrambled eggs instead of whole boiled eggs?
You can make a variation called Anda Bhurji Masala using scrambled eggs, but it's a different dish with a different texture profile. For Egg Matar Masala specifically, whole eggs are structural — they hold up to simmering and provide that contrast of firm white and rich yolk.
How spicy is this dish?
As written, it is mild to medium — the Kashmiri chili provides color and mild warmth, not fire. For more heat, increase the green chilies to 3-4 or add 1/4 teaspoon of regular red chili powder alongside the Kashmiri. For less heat, omit the green chilies entirely.
What does 'oil separating' mean and how do I know when it's happened?
When you cook a tomato-onion paste long enough, the water content fully evaporates and the oil that was emulsified into the mixture releases and pools visibly at the edges and surface of the pan. The paste will look glossy, darker, and denser. You will also notice the sizzling sound change from a wet bubbling to a drier, more active fry. That visual and auditory change is your cue.
Can I make this vegan?
The eggs are the dish — there is no vegan version of Egg Matar Masala. However, the exact same masala base works beautifully with cubed firm tofu (pressed and fried the same way as the eggs) or with chickpeas. The gravy technique is identical.

The Science of
Egg Matar Masala (The 30-Minute Weeknight Curry That Beats Takeout)
We turned everything on this page into a beautiful, flour-proof PDF cheat sheet. Print it out, stick it to your fridge, and never mess up your egg matar masala (the 30-minute weeknight curry that beats takeout) again.
*We'll email you the high-res PDF instantly. No spam, just perfectly cooked meals.
AlmostChefs Editorial Team
We translate the internet's most popular cooking videos into foolproof, beginner-friendly written recipes. We analyze multiple methods, test them in our kitchen, and engineer a single "Master Recipe" that gives you the best possible result with the least possible stress.