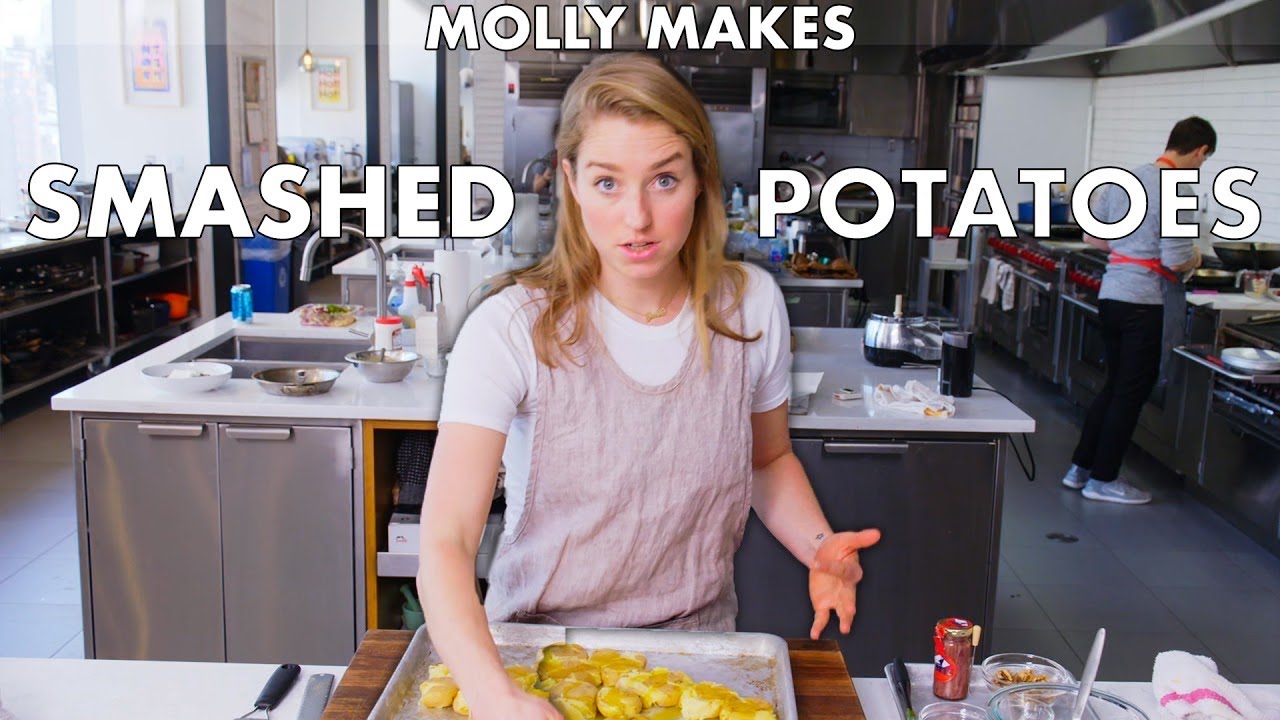
Crispy Smashed Potatoes (The Texture You've Been Missing)
Boiled baby potatoes smashed flat and roasted in a screaming hot oven until the edges shatter and the centers stay creamy. We broke down the most-watched YouTube methods to isolate the exact technique that gets maximum crunch without drying out the inside.
“Roasted potatoes are fine. Smashed potatoes are an event. The technique forces more surface area into contact with the hot pan, which means more Maillard reaction, which means more of the shatteringly crisp, lacy-edged crust that makes people reach for a third one without thinking. The difference between soggy and shattering comes down to three things: how dry the potatoes are before they hit the pan, how hot the oil is, and whether you give the crust enough time to set before you move them.”
Why This Recipe Works
Smashed potatoes are the rare recipe where the method is more important than the ingredients. Baby potatoes, oil, salt, and heat are not exactly a complex ingredient list. What separates a plate of crispy, shatteringly-edged smashed potatoes from a tray of soft, greasy disappointments is a series of decisions that each seem minor in isolation but compound into a dramatically different outcome.
The Two-Step Cook Is Non-Negotiable
You cannot skip the boiling step. Roasting raw potatoes from scratch requires such low initial oven temperatures to avoid burning the exterior while the interior cooks through that you never develop the violent crust this dish depends on. Boiling fully cooks the inside first — then you're free to subject the exterior to whatever aggressive heat you want without worrying about a raw center.
The boil also does something less obvious: it breaks down the outermost cell structure of the potato skin, softening it just enough to become pliable under the smash. This is why properly boiled potatoes smash into beautiful flat discs with intact, wrinkled skins, while under-boiled potatoes crack and collapse into uneven rubble. Fork-tender means exactly that — a fork should slide through the center with zero resistance, not slight resistance, not any resistance. Zero.
The Drying Window Is Where Most Cooks Lose
The five minutes of draining and drying after boiling is the highest-leverage step in the entire recipe, and it's also the one most home cooks skip because standing over a colander watching potatoes steam doesn't feel like cooking. It is. Surface moisture converts directly to steam in the oven, and steam is the thermodynamic opposite of a crust. It keeps the potato surface at 212°F — the boiling point of water — which is too cool for the Maillard reaction to occur at meaningful speed. You need the surface temperature of the potato to climb well above 300°F before browning chemistry really accelerates. Every drop of surface moisture you eliminate before the potato hits the pan is insurance against a soggy result.
The Preheated Pan Principle
A heavy rimmed baking sheet in a 450°F oven has stored significant thermal energy by the time the potatoes land on it. That stored heat drives an immediate phase change on the bottom surface of each potato — the oil and potato moisture vaporize instantly on contact, creating the sizzle you want to hear when they hit the pan. If you load the potatoes onto a cold pan and slide the whole assembly into the oven, the pan warms up gradually with the potatoes sitting in lukewarm oil, effectively braising them from below. Both methods use the same ingredients at the same oven temperature. The pan preheating decision alone is the difference between a crust and a sog.
This is the same principle behind cast iron skillet cooking and the reason professional kitchens never cook proteins from a cold pan. Thermal mass delivers immediate, violent heat transfer. A cold surface just can't do that regardless of how hot the surrounding oven is.
Why the Smash Geometry Matters
The smash isn't just about aesthetics — it's about surface area engineering. A round, intact potato has a relatively small ratio of surface area to volume. Smash that potato flat and you dramatically increase the proportion of the potato that's in direct contact with the hot pan. More contact means more Maillard reaction. More Maillard reaction means more of the complex, savory, caramelized flavor compounds that make roasted anything taste better than boiled anything.
The jagged, irregular edges created by smashing are particularly valuable. Those thin, lacy edges dehydrate almost completely during the roast and become the crispiest, most intensely flavored part of the potato — the part that disappears first off the serving dish. A flat, uniform smash produces fewer of these edges. Press down firmly with a flat-bottomed glass until you feel the potato resist, and then stop. Irregular, cracked edges are a feature.
The Butter-Oil Combination
Oil alone roasts efficiently but neutrally. Butter alone burns at high heat because its milk solids scorch above 350°F. The combination solves both problems: the oil raises the effective smoke point of the fat mixture while the butter's milk solids contribute their Maillard-browning chemistry and rich dairy flavor at temperatures where pure butter would burn. This is not a compromise — it's an intentional two-ingredient solution to a physics problem. Coat the potatoes generously, getting the fat into every crevice. Those are the surfaces that will develop the crust.
Where Beginners Mess This Up
Before we start, read this. These are the 4 reasons your crispy smashed potatoes (the texture you've been missing) will fail:
- 1
Not drying the potatoes after boiling: Steam is the enemy of crispiness. Potatoes that go from the boiling water directly onto the baking sheet carry surface moisture that turns into steam in the oven, essentially steaming the bottom of the potato instead of frying it. Pat them completely dry and let them sit for five minutes — you will see the steam rising. Wait until it stops.
- 2
Smashing too hard: The goal is a disc about half an inch thick, not a pancake. Smash too aggressively and you lose structural integrity — the potato falls apart into chunks that dry out unevenly. Press firmly and evenly with the flat bottom of a glass or measuring cup until you feel resistance, then stop.
- 3
Using oil at the wrong temperature: Cold oil on a hot pan creates a sear. Warm oil on a cold pan creates a braise. You want the sheet pan preheated in the oven so the oil is already at roasting temperature when the potatoes land. This creates an immediate crust on contact, locking in the creamy interior.
- 4
Pulling them out too early: The crust needs time to set and dehydrate. Potatoes that look done at 25 minutes usually aren't — the edges might be golden but the broad flat surfaces are still yielding. Let them go the full time. The edges should look almost burnt. That's not a mistake. That's dinner.
The Video Reference Library
Want to see it in action? Here are the exact videos we analyzed and combined to build this foolproof recipe translation:
The source video for this recipe. Clear technique for the smash, the oil coverage, and the oven timing. Pay close attention to the color cues at the end — this is the visual benchmark.
A solid secondary demonstration showing the preheated pan technique and why the drying step matters. Good close-ups of the crust texture you're aiming for.
Focuses on oil selection and seasoning timing — specifically why you salt after roasting rather than before to avoid drawing out moisture during the cook.
🛠️ Core Equipment
- Heavy rimmed baking sheetA flimsy sheet pan warps at high heat and creates uneven contact with the oven rack. A heavy-gauge rimmed sheet distributes heat evenly across the entire surface. Dark pans absorb more heat and produce better browning.
- Flat-bottomed glass or measuring cupFor smashing. A flat surface distributes pressure evenly across the potato. Forks and spatulas create uneven pressure and tear the skin instead of compressing it cleanly.
- Large potFor boiling the potatoes fully before roasting. Baby potatoes need room to cook evenly — crowding them in a small pot drops the water temperature and extends cooking time, which can waterlog them.
- Wire rack (optional)Resting the boiled potatoes on a wire rack over the sink after draining lets air circulate beneath them, drying them faster and more evenly than a cutting board or paper towels alone.
Crispy Smashed Potatoes (The Texture You've Been Missing)
🛒 Ingredients
- ✦2 pounds baby Yukon Gold potatoes
- ✦3 tablespoons olive oil, divided
- ✦1 teaspoon garlic powder
- ✦1 teaspoon onion powder
- ✦1/2 teaspoon smoked paprika
- ✦1/2 teaspoon freshly ground black pepper
- ✦1 teaspoon flaky sea salt
- ✦1/4 cup fresh chives, finely chopped
- ✦2 tablespoons fresh rosemary, finely chopped
- ✦3 tablespoons unsalted butter, melted
- ✦4 cloves garlic, minced
- ✦2 tablespoons fresh flat-leaf parsley, chopped
- ✦Kosher salt for the boiling water
👨🍳 Instructions
01Step 1
Preheat oven to 450°F (230°C). Place a heavy rimmed baking sheet in the oven while it preheats — you want the pan screaming hot before the potatoes land on it.
02Step 2
Place the baby potatoes in a large pot and cover with cold water by at least two inches. Add a generous tablespoon of kosher salt. Bring to a boil over high heat, then reduce to a steady simmer. Cook for 18-22 minutes until completely fork-tender — a fork should slide in with zero resistance.
03Step 3
Drain the potatoes through a colander and let them sit for 5 full minutes. You should see steam rising off them. Do not rush this. Pat them dry with a clean towel once the visible steam stops.
04Step 4
Remove the hot baking sheet from the oven. Drizzle 2 tablespoons of olive oil across the surface. Working quickly, transfer the dried potatoes to the pan in a single layer with space between each one.
05Step 5
Using the flat bottom of a glass or heavy measuring cup, smash each potato firmly until it's about 1/2 inch thick. Apply steady, even pressure — you want a flat disc, not a pile of rubble.
06Step 6
Combine the remaining tablespoon of olive oil with the melted butter, minced garlic, garlic powder, onion powder, and smoked paprika. Brush or spoon this mixture generously over each smashed potato. Season with black pepper.
07Step 7
Roast for 25-30 minutes until the edges are deeply golden and the flat surfaces have a firm, set crust. Do not move or flip the potatoes during cooking — let the crust develop undisturbed.
08Step 8
Remove from the oven. Immediately season with flaky sea salt and scatter the chopped chives, rosemary, and parsley across the top. Serve directly from the pan.
Nutrition Per Serving
Estimates based on standard preparation. Adjustments alter macros.
🔄 Substitutions
Instead of Olive oil...
Use Avocado oil or refined coconut oil
Both have higher smoke points than olive oil, which is useful at 450°F+. Avocado oil is neutral. Coconut oil adds a subtle sweetness that pairs well with paprika.
Instead of Butter...
Use Vegan butter or additional olive oil
Vegan butter works nearly identically for browning. Extra olive oil produces a slightly less rich crust with a more neutral flavor.
Instead of Baby Yukon Gold potatoes...
Use Baby red potatoes or fingerlings
Red potatoes hold their shape better but have a slightly waxy, less creamy interior. Fingerlings smash unevenly but produce spectacular lacy edges. Both work — expect different textures.
Instead of Fresh rosemary and chives...
Use Fresh thyme and flat-leaf parsley
Any hardy herb works well. Avoid delicate herbs like basil or tarragon — they burn at these temperatures. Add them after the potatoes come out of the oven.
🧊 Storage & Reheating
In the Fridge
Store in an airtight container for up to 3 days. They lose their crunch in the fridge — that's unavoidable. Plan to reheat them.
In the Freezer
Not recommended. The texture degrades significantly after freezing and thawing — the cells rupture and the interior turns grainy.
Reheating Rules
Spread in a single layer on a baking sheet and roast at 400°F for 8-10 minutes. This restores most of the original crunch. Avoid the microwave entirely.
❓ Frequently Asked Questions
Why are my smashed potatoes soggy instead of crispy?
Almost always a moisture problem. Either the potatoes weren't dried long enough after boiling, the pan wasn't preheated, or the oven temperature is too low. All three conspire to produce steam instead of a crust. Dry thoroughly, preheat the pan, and don't go below 425°F.
Can I use a different type of potato?
Yes, but Yukon Golds are strongly preferred. Their moderate starch content and naturally buttery flavor give you a creamy center and a crisp exterior simultaneously. High-starch potatoes like russets tend to dry out. Low-starch varieties like red potatoes stay waxy and don't develop the same interior creaminess.
Do I need to peel the potatoes?
No — and you shouldn't. The skin is load-bearing. It holds the smashed potato together as a disc and crisps up into the most satisfying part of the whole thing. Peeled potatoes fall apart during smashing and lose structural integrity in the oven.
Can I boil the potatoes ahead of time?
Yes. Boil and dry the potatoes up to 24 hours in advance. Store them in the fridge uncovered — the cold, dry air of the refrigerator actually helps dehydrate the surface further. Bring them to room temperature for 15 minutes before smashing and roasting.
Why do I need to preheat the baking sheet?
A cold pan means the potatoes are sitting in cooling oil while the oven heats up around them, which braises the bottom instead of searing it. A preheated pan creates immediate high-heat contact on the bottom surface, starting the Maillard reaction the moment the potato lands. The difference in crust quality is significant.
How much space should I leave between potatoes?
At least an inch, ideally more. Crowded potatoes trap steam between them and braise instead of roast. If your pan can't fit them all with space, use two pans rather than crowding one.

The Science of
Crispy Smashed Potatoes (The Texture You've Been Missing)
We turned everything on this page into a beautiful, flour-proof PDF cheat sheet. Print it out, stick it to your fridge, and never mess up your crispy smashed potatoes (the texture you've been missing) again.
*We'll email you the high-res PDF instantly. No spam, just perfectly cooked meals.
AlmostChefs Editorial Team
We translate the internet's most popular cooking videos into foolproof, beginner-friendly written recipes. We analyze multiple methods, test them in our kitchen, and engineer a single "Master Recipe" that gives you the best possible result with the least possible stress.