Foolproof Chocolate Tart (Silky, Crackable, No Cracks)
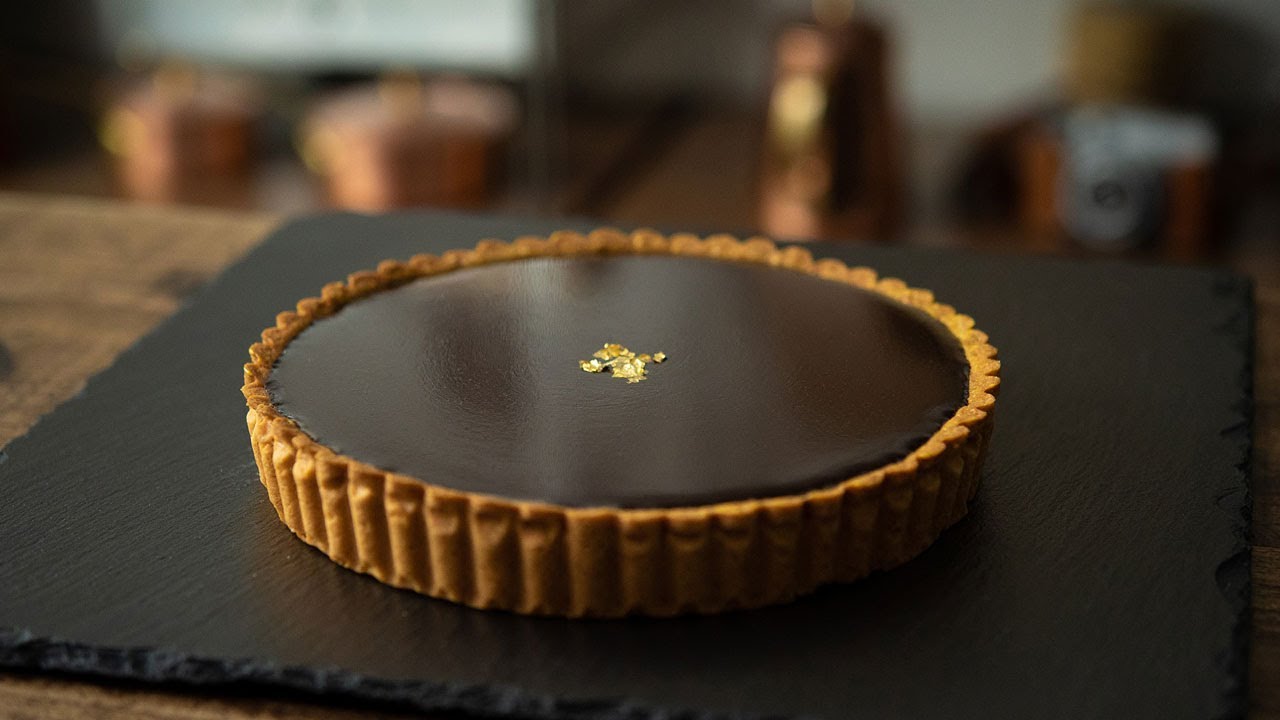
A deep, glossy bittersweet chocolate ganache set in a buttery shortcrust shell with a satisfying snap. We analyzed the most-watched chocolate tart techniques on YouTube to isolate the exact cream-to-chocolate ratio and baking method that produces a perfectly smooth, sliceable tart every time.
“Most chocolate tarts look extraordinary and taste like a wax museum exhibit. The failure is almost always the ganache ratio — too much cream and it never sets firm enough to slice clean, too little and it cracks and seizes. We reverse-engineered the most-watched YouTube methods to find the exact ratio, the precise pour temperature, and the one blind-baking step most home bakers skip that ruins the crust before it even meets the filling.”
Why This Recipe Works
A chocolate tart is one of two things: a revelation or a profound disappointment dressed up in a fancy pan. The gap between those outcomes is almost entirely technical, which makes it both frustrating and fixable. There is no such thing as a bad chocolate tart from good technique. There is only a long list of ways to undermine an otherwise simple recipe through shortcuts that seem reasonable until you're staring at a cracked, grainy, slump-sided disaster on your counter at 11pm.
The Pastry Problem
Shortcrust pastry exists in a permanent state of tension between tenderness and structure. You need enough gluten development to hold the tart shell upright under the weight of a dense ganache filling, but too much gluten and you get a cracker — something with the texture of a stale digestive biscuit rather than a buttery, crumbly French shell. The answer is cold fat, minimal mixing, and time.
Cold butter — straight from the refrigerator, cut into cubes — coats the flour particles in fat before any water is added. This fat barrier physically blocks gluten formation by preventing the proteins in flour from hydrating and linking together. The result is a tender, short crust. Warm or room-temperature butter melts into the flour rather than coating it, the gluten develops freely, and the finished shell bakes up tough and dense. No amount of resting time recovers a pastry made with warm butter.
The freeze before blind baking matters equally. A chilled shell's fat is solid and holds the structure in place when it hits the hot oven. The fat melts during baking, creating steam pockets that produce a flaky, light texture, but by then the protein structure has set and the shell holds its shape. Skip the freeze, and the butter softens before the protein can set — the sides slump inward and the base bubbles into a landscape of hills and craters that no ganache can save.
The Ganache Ratio
This is the recipe's entire center of gravity. Ganache is an emulsion — fat molecules from chocolate and cream suspended in equilibrium. The ratio of cream to chocolate determines whether the finished tart sets firm enough to slice cleanly or stays perpetually soft and smears when cut. For a tart that slices at room temperature, the target is roughly 2 parts chocolate to 1 part cream by weight. Go heavier on the cream and you have a pourable sauce. Go heavier on the chocolate and you have fudge.
The butter added after emulsification is not optional richness — it's structural. Butter's milk fat integrates into the ganache and creates a more stable emulsion that produces the characteristic glossy surface and the clean snap at the surface when a fork cuts through. Adding the butter piece by piece, ensuring each one is fully absorbed before the next goes in, is the technique that separates a professional-looking tart from a home-cook one. Rush it and the emulsion breaks into a greasy, grainy mass that no amount of stirring will rescue.
Temperature Is Everything
Pour temperature is the single most technical variable in this recipe, and it's where most home cooks fail because they're relying on intuition rather than measurement. A thermometer is not optional equipment here — it's the margin between success and failure measured in degrees. Ganache poured above 105°F runs under the pastry rim and continues cooking the crust. Ganache poured below 90°F thickens too fast to level properly and traps air bubbles that mar the surface.
The window between 95-105°F produces ganache with enough fluidity to self-level in the shell but enough viscosity to stay put once it's there. A single check with an instant-read thermometer before pouring takes four seconds and guarantees the result. Not checking takes four seconds and introduces a variable you cannot control.
The same principle governs the set. A fluted tart pan with a removable base conducts cold evenly from all sides, which is exactly what you want during the slow refrigerator set. The ganache contracts uniformly as it cools, the emulsion stays intact, and the surface stays glassy. Freeze it and you introduce ice crystal formation that collapses the emulsion structure when it thaws, leaving pits, sunken spots, and a matte surface that looks like something went wrong — because it did.
This is a recipe that rewards the cook who trusts their equipment and their thermometer over the cook who trusts their gut. The gut has never made a perfect chocolate tart. The thermometer has.
Where Beginners Mess This Up
Before we start, read this. These are the 4 reasons your foolproof chocolate tart (silky, crackable, no cracks) will fail:
- 1
Skipping the blind bake: Pouring liquid ganache into an unbaked shell turns the pastry into a dense, pale, greasy disc. The crust must be fully blind-baked and cooled before the ganache is poured. Any residual steam from an underbaked shell will cause the ganache surface to bubble and crater.
- 2
Pouring ganache that is too hot: Ganache poured above 140°F into the tart shell continues cooking the butter in the pastry and creates an oily separation layer between filling and crust. Let the ganache cool to between 95-105°F before pouring — it should feel just barely warm to the touch.
- 3
Using chips instead of chopped bar chocolate: Chocolate chips contain stabilizers that prevent proper melting and emulsification. They produce grainy, dull ganache. Always use a high-quality baking bar (70% cacao minimum), chopped fine, so it melts evenly and completely into the cream.
- 4
Rushing the set in the freezer: Ganache set by freezing develops ice crystals that collapse when it returns to room temperature, leaving a sunken, pockmarked surface. Refrigerate at 40°F for a minimum of 2 hours. The slow, even chill produces the glossy mirror finish.
The Video Reference Library
Want to see it in action? Here are the exact videos we analyzed and combined to build this foolproof recipe translation:
The clearest breakdown of the ganache ratio and pour temperature available on YouTube. Watch closely at the 4-minute mark for the correct ganache consistency before pouring.
Strong coverage of the shortcrust pastry method including the fraisage technique for achieving a tender, crumbly shell without overdeveloping the gluten.
Dedicated walkthrough of the blind baking process, including how long to bake with weights versus without, and how to tell when the base is genuinely cooked through.
🛠️ Core Equipment
- 9-inch fluted tart pan with removable bottomThe removable base is essential for clean unmolding. A fixed-bottom pan forces you to pry the tart out and almost always destroys the crust edge.
- Pastry weights or dried beansRequired for blind baking. Without weight pressing the pastry down, the sides slump and the base bubbles. You cannot skip this step.
- Instant-read thermometerThe difference between ganache that sets perfectly and ganache that weeps butter is about 15 degrees. A thermometer removes all guesswork from the pour temperature.
- Fine-mesh sieveStraining the warm ganache before pouring removes any chocolate lumps or cooked egg particles, producing a perfectly smooth surface.
Foolproof Chocolate Tart (Silky, Crackable, No Cracks)
🛒 Ingredients
- ✦1.25 cups all-purpose flour
- ✦1/3 cup powdered sugar, sifted
- ✦1/4 teaspoon fine sea salt
- ✦1/2 cup (1 stick) cold unsalted butter, cut into cubes
- ✦1 large egg yolk
- ✦2 tablespoons ice water
- ✦1 teaspoon pure vanilla extract
- ✦9 ounces 70% dark chocolate, finely chopped
- ✦1.25 cups heavy cream
- ✦3 tablespoons unsalted butter, room temperature, cut into pieces
- ✦2 tablespoons light corn syrup or golden syrup
- ✦1/4 teaspoon flaky sea salt (for finishing)
- ✦Cocoa powder or gold leaf for garnish (optional)
👨🍳 Instructions
01Step 1
Combine flour, powdered sugar, and salt in a bowl. Add cold butter cubes and work them in with your fingertips until the mixture resembles coarse sand with pea-sized butter pieces.
02Step 2
Add the egg yolk, ice water, and vanilla. Mix until the dough just comes together. Do not overwork it. Flatten into a disc, wrap in plastic, and refrigerate for at least 45 minutes.
03Step 3
Roll the chilled dough on a lightly floured surface to about 1/8-inch thickness, large enough to line a 9-inch tart pan with overhang. Press into the pan gently, working the dough into the fluted edges without stretching it.
04Step 4
Trim the excess dough flush with the top of the pan. Prick the base all over with a fork. Freeze the shell for 20 minutes.
05Step 5
Preheat the oven to 375°F. Line the frozen shell with parchment paper and fill with pastry weights or dried beans. Bake for 15 minutes, then remove the weights and parchment.
06Step 6
Continue baking the shell uncovered for 8-10 minutes until the base is golden and matte — not glossy or pale. A glossy center means it's still raw. Let the shell cool completely before filling.
07Step 7
Place the finely chopped chocolate in a heatproof bowl. Heat the heavy cream and corn syrup in a small saucepan over medium heat until it just reaches a simmer — small bubbles around the edges, not a rolling boil.
08Step 8
Pour the hot cream over the chopped chocolate. Let it sit undisturbed for 2 minutes, then stir gently from the center outward with a spatula until the ganache is completely smooth and glossy.
09Step 9
Add the room-temperature butter pieces one at a time, stirring each in until fully emulsified before adding the next. This is what gives the ganache its glossy sheen and smooth texture.
10Step 10
Strain the ganache through a fine-mesh sieve. Let it cool, stirring occasionally, until it registers 95-105°F on an instant-read thermometer.
11Step 11
Pour the ganache into the fully cooled tart shell from the center, letting it spread naturally to the edges. Tap the pan gently on the counter to level the surface.
12Step 12
Refrigerate uncovered for at least 2 hours until fully set. Finish with a pinch of flaky sea salt just before serving.
13Step 13
To unmold, set the tart pan on a tall jar or can and allow the outer ring to drop away. Slide onto a serving plate.
Nutrition Per Serving
Estimates based on standard preparation. Adjustments alter macros.
🔄 Substitutions
Instead of Heavy cream...
Use Full-fat coconut cream
Produces a dairy-free ganache with a subtle coconut undertone. Shake the can well before using. The set texture is slightly softer.
Instead of Unsalted butter (in pastry)...
Use Vegan butter block (not spread)
Must be a solid block-style vegan butter, not a soft spread. Works well for a fully dairy-free shell. Chill time becomes even more important.
Instead of 70% dark chocolate...
Use Milk chocolate (32-35% cacao)
Reduces bitterness significantly. Decrease cream by 2 tablespoons or the filling will not set firm enough to slice cleanly.
Instead of All-purpose flour...
Use 1:1 gluten-free baking flour
The pastry will be more fragile and prone to cracking when rolling. Work quickly and patch any cracks by pressing the dough back together in the pan.
🧊 Storage & Reheating
In the Fridge
Store covered loosely with plastic wrap (not pressed against the surface) for up to 3 days. The ganache surface is delicate and plastic contact leaves marks.
In the Freezer
Freeze the unbaked pastry shell or fully set tart for up to 1 month. Thaw overnight in the refrigerator, never at room temperature.
Reheating Rules
This tart is served cold or at room temperature — never reheated. Remove from the refrigerator 15-20 minutes before serving to take the chill off the filling.
❓ Frequently Asked Questions
Why did my ganache crack after refrigerating?
The refrigerator was too cold, or the ganache cooled too fast. Rapid cooling causes the surface to contract faster than the interior, creating stress fractures. Refrigerate at 40°F and avoid placing the tart near the back wall of the fridge where temperatures are coldest.
Why is my ganache grainy instead of smooth?
Either the chocolate was not chopped finely enough and didn't melt fully, or the cream was added too hot and scorched the chocolate. Chop chocolate as fine as possible and make sure the cream reaches a simmer, not a boil.
My pastry shell shrank badly. What happened?
The dough was either overworked (developing too much gluten) or not chilled long enough before baking (allowing the butter to soften and the structure to collapse). Both the pre-bake chill and the freeze before blind baking are essential steps.
Can I make this tart a day ahead?
Yes — and it's actually better the next day. The ganache firms up more fully and the flavor deepens. Keep refrigerated and add the flaky salt finishing touch just before serving.
Why does my ganache have a dull surface instead of a glossy one?
Either the butter wasn't fully emulsified, or the ganache was poured when it was too cold. The butter emulsification step is what creates the mirror finish. Make sure each piece of butter is fully incorporated before adding the next.
How do I know when the ganache has set properly?
The surface should feel firm and dry to a very light touch with one fingertip — no jiggle, no tackiness. The edges will set before the center. If the center still jiggles like Jell-O after 2 hours, it needs more time or your cream-to-chocolate ratio was off.

The Science of
Foolproof Chocolate Tart (Silky, Crackable, No Cracks)
We turned everything on this page into a beautiful, flour-proof PDF cheat sheet. Print it out, stick it to your fridge, and never mess up your foolproof chocolate tart (silky, crackable, no cracks) again.
*We'll email you the high-res PDF instantly. No spam, just perfectly cooked meals.
AlmostChefs Editorial Team
We translate the internet's most popular cooking videos into foolproof, beginner-friendly written recipes. We analyze multiple methods, test them in our kitchen, and engineer a single "Master Recipe" that gives you the best possible result with the least possible stress.