Fall-Off-The-Bone BBQ Ribs (The Oven Method That Actually Works)
Tender oven-baked baby back ribs with a smoky dry rub and reduced-sugar glaze that caramelizes into sticky, lacquered perfection. We broke down the most-watched rib techniques to build one foolproof low-and-slow method that delivers fall-apart results without a smoker.
“Most oven rib recipes produce one of two failures: meat that's technically cooked but dry and tough, or meat that's so oversteamed it slides off the bone before you can even slice it. The difference between those failures and ribs that are genuinely tender — with just enough pull on the bone — comes down to three things: removing the membrane, the foil-on vs. foil-off timing, and when you apply the sauce. Get those three right and the oven does everything else.”
Why This Recipe Works
Ribs are a patience problem dressed up as a technique problem. The meat is unforgiving in one specific direction — too fast and it's tough, too slow and it's stringy — but the oven handles all of that if you build the environment correctly and leave it alone. The failures almost always happen before the ribs go in or at the moment of impatient intervention.
The Membrane Is Non-Negotiable
The silverskin membrane on the bone side of a rib rack is connective tissue that does not break down with heat. It tightens. Leave it on and you've built a rubberized barrier that prevents seasoning from penetrating the underside and creates an unpleasant chew between your teeth and the bone. Every credible rib recipe tells you to remove it. Most home cooks skip it because it's fiddly. This is why most home ribs are mediocre.
The trick is grip. The membrane is slippery when wet. Dry the surface with a paper towel, slide a butter knife under the edge near one of the bones, then grab the loose flap with a dry paper towel and pull steadily from one end to the other. It comes off in a single sheet when you get the angle right.
Low and Slow Is Chemistry, Not Philosophy
Two hours at 275°F under a tight foil seal isn't arbitrary — it's the minimum time-temperature combination needed to convert the dense collagen in pork ribs into gelatin. Collagen is what makes ribs tough when undercooked and what makes them tender when properly cooked. The conversion happens between 170-195°F, and it takes time. Cranking the oven to 350°F to speed things up produces dry, contracted meat because the exterior dries out before the interior collagen has time to transform.
The foil creates a humid microclimate that keeps the surface temperature from outrunning the interior. You're effectively braising the ribs in their own rendered fat and juices. A roasting pan with sides prevents that liquid from evaporating off the edges and maintains the steam chamber.
The Sauce Timing Window
Sugar burns. This is the fundamental constraint that governs when sauce goes on. Barbecue sauce — even reduced-sugar versions — contains enough sweeteners that sustained oven heat will blacken them before the meat is tender. The sauce applies only in the final hour, after the foil comes off and the ribs are already at 85% done.
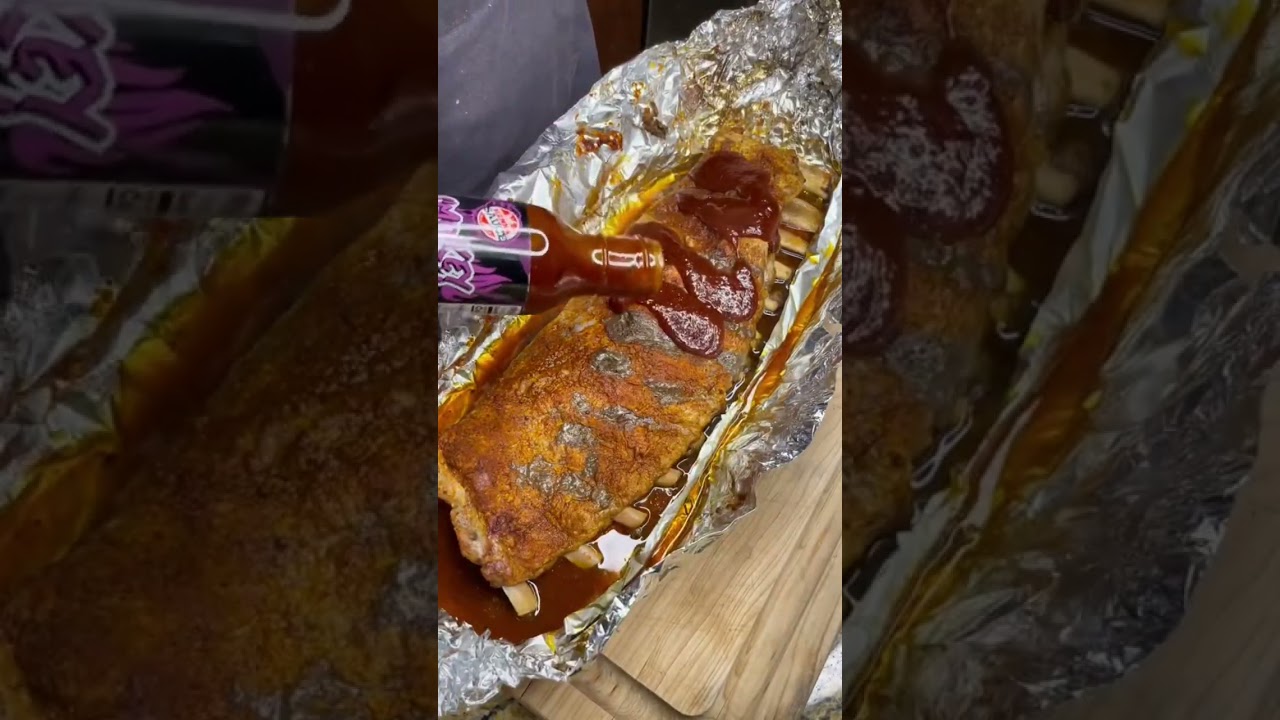
The two-stage application matters: first coat at 45 minutes before the end, second coat at 15 minutes before. The first layer sets and partially caramelizes, creating a tacky foundation. The second layer bonds to that foundation and lacquers into the glossy, sticky finish that makes ribs look as good as they taste. A single thick coating just slides off and pools in the pan.
Reading Doneness Without Guessing
The bend test works: pick up the rack with tongs at one end, and if the other end droops at a 45-degree angle and the surface starts to crack slightly, the ribs are done. But an instant-read thermometer removes all ambiguity. Insert it into the thickest part of the meat between two bones — not touching bone, which reads hotter than meat. 190°F means the collagen is converting. 195°F means it's done. Above 203°F and you're moving into pulled-pork territory: still edible, but the meat will shred rather than slice cleanly.
The eight-minute rest is where the work pays off. Muscle fibers that contracted during cooking relax and reabsorb the juices that migrated inward under heat. Cut immediately and those juices run out onto the board. Rest, and they stay in the meat. This is not a suggestion.
Where Beginners Mess This Up
Before we start, read this. These are the 4 reasons your fall-off-the-bone bbq ribs (the oven method that actually works) will fail:
- 1
Leaving the membrane on: The thin papery skin on the bone side of the rack is the single biggest reason home rib cooks get tough, chewy results. It doesn't break down during cooking — it tightens. Peel it off completely before applying any rub. Slide a butter knife under the edge, grab it with a dry paper towel for grip, and pull in one firm motion.
- 2
Opening the oven during the covered phase: The first two hours at 275°F work by trapping steam inside the foil pouch. Every time you lift the corner to check, you release that steam and drop the internal temperature. The ribs need sustained, humid heat to break down the collagen. Set a timer and walk away.
- 3
Saucing too early: Barbecue sauce contains sugar. Sugar burns at around 320°F. If you apply sauce at the beginning and cook at 275°F for three hours, you don't get caramelization — you get a blackened, bitter crust. Sauce goes on in the final hour only, after the foil comes off and the meat is already tender.
- 4
Slicing immediately out of the oven: Eight minutes of rest is not optional. The muscle fibers need time to relax and reabsorb the juices that migrated toward the center during cooking. Cut too soon and those juices pool on your cutting board instead of staying in the meat.
The Video Reference Library
Want to see it in action? Here are the exact videos we analyzed and combined to build this foolproof recipe translation:
The source video for this recipe's core technique. Clear breakdown of the membrane removal step and the timing sequence for the covered-to-uncovered transition.
🛠️ Core Equipment
- Large roasting panNeeds to fit two full racks flat without bending. A rimmed sheet pan works in a pinch, but a deeper roasting pan captures the drippings and prevents spillover when you flip and sauce the ribs.
- Heavy-duty aluminum foilYou need a tight, steam-trapping seal for the covered phase. Standard foil tears when you're tucking the edges. Double-layer if your foil is thin — a leak means dry ribs.
- Instant-read thermometerThe bend test is useful but subjective. An internal temperature of 190-195°F is definitive. At that range, the collagen has converted to gelatin and the meat pulls cleanly from the bone without being mushy.
- Basting brushSauce needs to be applied in two layers during the final cook window. A brush gets into the crevices between bones where a spoon just deposits a blob on top.
Fall-Off-The-Bone BBQ Ribs (The Oven Method That Actually Works)
🛒 Ingredients
- ✦2 racks baby back pork ribs (about 4-5 pounds total)
- ✦3 tablespoons brown sugar
- ✦2 tablespoons smoked paprika
- ✦1 tablespoon garlic powder
- ✦1 tablespoon onion powder
- ✦1 tablespoon freshly cracked black pepper
- ✦1 tablespoon kosher salt
- ✦1 teaspoon cayenne pepper
- ✦1 tablespoon chili powder
- ✦3 tablespoons yellow mustard
- ✦2 tablespoons apple cider vinegar
- ✦2 tablespoons raw honey
- ✦1 cup low-sugar barbecue sauce (or homemade)
- ✦2 tablespoons Worcestershire sauce
👨🍳 Instructions
01Step 1
Preheat your oven to 275°F and line a large roasting pan with aluminum foil for easy cleanup.
02Step 2
Remove the thin papery membrane from the back of each rib rack by sliding a butter knife underneath and peeling it away completely.
03Step 3
Combine brown sugar, smoked paprika, garlic powder, onion powder, black pepper, kosher salt, cayenne pepper, and chili powder in a small bowl.
04Step 4
Massage the mustard evenly across both sides of each rib rack, working it into all the crevices.
05Step 5
Generously apply the dry rub to both sides of the ribs, pressing firmly so it adheres. Let the seasoned ribs rest at room temperature for 30 minutes.
06Step 6
Place the rib racks bone-side down in the prepared roasting pan and cover tightly with foil, crimping the edges to trap steam.
07Step 7
Slide the covered pan into the oven and cook for 2 hours without opening.
08Step 8
After 2 hours, carefully remove the foil. Whisk together the apple cider vinegar, honey, Worcestershire sauce, and barbecue sauce until smooth.
09Step 9
Flip the ribs bone-side up and brush generously with the sauce mixture, coating all exposed surfaces.
10Step 10
Return the uncovered ribs to the oven for 45 minutes, then baste with remaining sauce and cook for another 15 minutes until the glaze is sticky and caramelized.
11Step 11
Test doneness: bend a rib gently — meat should pull back from the bones, and a toothpick should pierce the thickest part with minimal resistance. Internal temperature should read 190-195°F.
12Step 12
Remove from the oven and rest uncovered for 8 minutes before slicing between the bones and serving.
Nutrition Per Serving
Estimates based on standard preparation. Adjustments alter macros.
🔄 Substitutions
Instead of Brown sugar...
Use Coconut sugar or monk fruit sweetener (same amount)
Coconut sugar adds subtle caramel depth. Monk fruit is more neutral and has a lower glycemic impact. Both caramelize effectively during the final glaze phase.
Instead of Store-bought barbecue sauce...
Use Homemade: tomato paste, apple cider vinegar, honey, garlic, and smoked paprika blended together
Reduces sodium by 40-50% per serving and eliminates high-fructose corn syrup. The flavor is less uniform but more complex. Thin with a splash of water if too thick to brush.
Instead of Kosher salt...
Use Sea salt or Himalayan pink salt (reduce to 2 teaspoons)
Himalayan adds faint mineral notes. Both have slightly larger crystal structures than kosher salt — reducing the quantity slightly prevents over-salting.
Instead of Standard pork ribs...
Use Grass-fed or heritage breed pork ribs
Richer flavor, slightly firmer texture, and higher omega-3 content. May cook 10-15 minutes faster due to leaner muscle composition — start checking doneness earlier.
🧊 Storage & Reheating
In the Fridge
Store in an airtight container or wrapped tightly in foil for up to 3 days. The rub flavors continue to develop overnight.
In the Freezer
Freeze individual portions wrapped in foil and sealed in freezer bags for up to 2 months. Thaw overnight in the refrigerator before reheating.
Reheating Rules
Wrap in foil and reheat at 300°F for 20-25 minutes. Add a tablespoon of water inside the foil packet to regenerate steam. Microwaving works but dries the surface — cover with a damp paper towel and use 50% power.
❓ Frequently Asked Questions
Why are my ribs still tough after 2 hours?
Collagen in pork ribs converts to gelatin at sustained temperatures between 170-195°F — and that conversion takes time. If your ribs are tough at the 2-hour mark, that's expected. The covered phase breaks them down; the uncovered final hour is about caramelizing the surface. Tough ribs at the end of the full cook usually mean your oven ran cold or the foil seal leaked steam.
Should ribs fall completely off the bone?
Technically, no — competition-style ribs have a clean bite with slight resistance. 'Fall-off-the-bone' is the home cook benchmark, and it's fine if that's your preference. It just means the collagen has fully converted and the muscle fibers have relaxed past the ideal texture. Neither is wrong; it's a matter of taste.
Can I make these on a grill instead?
Yes, but the method changes significantly. You need indirect heat at 225-250°F, a water pan for humidity, and 4-5 hours of cook time. The foil-wrap technique (the 3-2-1 method) replicates the oven approach on a grill. Direct grilling without low-and-slow first just produces tough, chewy ribs.
Why mustard as a binder? Can I skip it?
The mustard flavor cooks off almost entirely — you won't taste it in the finished ribs. Its job is to create a tacky surface that holds the dry rub in place during the steam phase. Without it, the rub loosens and slides into the pan drippings. You can substitute a thin layer of olive oil, but mustard adheres better.
What internal temperature should I target?
190-195°F. At this range, the collagen has fully converted and the connective tissue is gelatinous rather than tough. Pulling ribs at 165°F (the food-safe minimum for pork) means the collagen hasn't had time to break down — the meat is safe but still tight and chewy.
Can I prep the ribs the night before?
Yes — and you should. Applying the rub and letting the racks sit uncovered in the refrigerator overnight allows the salt to fully penetrate the meat and the spices to bloom. Cover loosely with plastic wrap and pull them out 30 minutes before cooking to take the chill off.

The Science of
Fall-Off-The-Bone BBQ Ribs (The Oven Method That Actually Works)
We turned everything on this page into a beautiful, flour-proof PDF cheat sheet. Print it out, stick it to your fridge, and never mess up your fall-off-the-bone bbq ribs (the oven method that actually works) again.
*We'll email you the high-res PDF instantly. No spam, just perfectly cooked meals.
AlmostChefs Editorial Team
We translate the internet's most popular cooking videos into foolproof, beginner-friendly written recipes. We analyze multiple methods, test them in our kitchen, and engineer a single "Master Recipe" that gives you the best possible result with the least possible stress.